
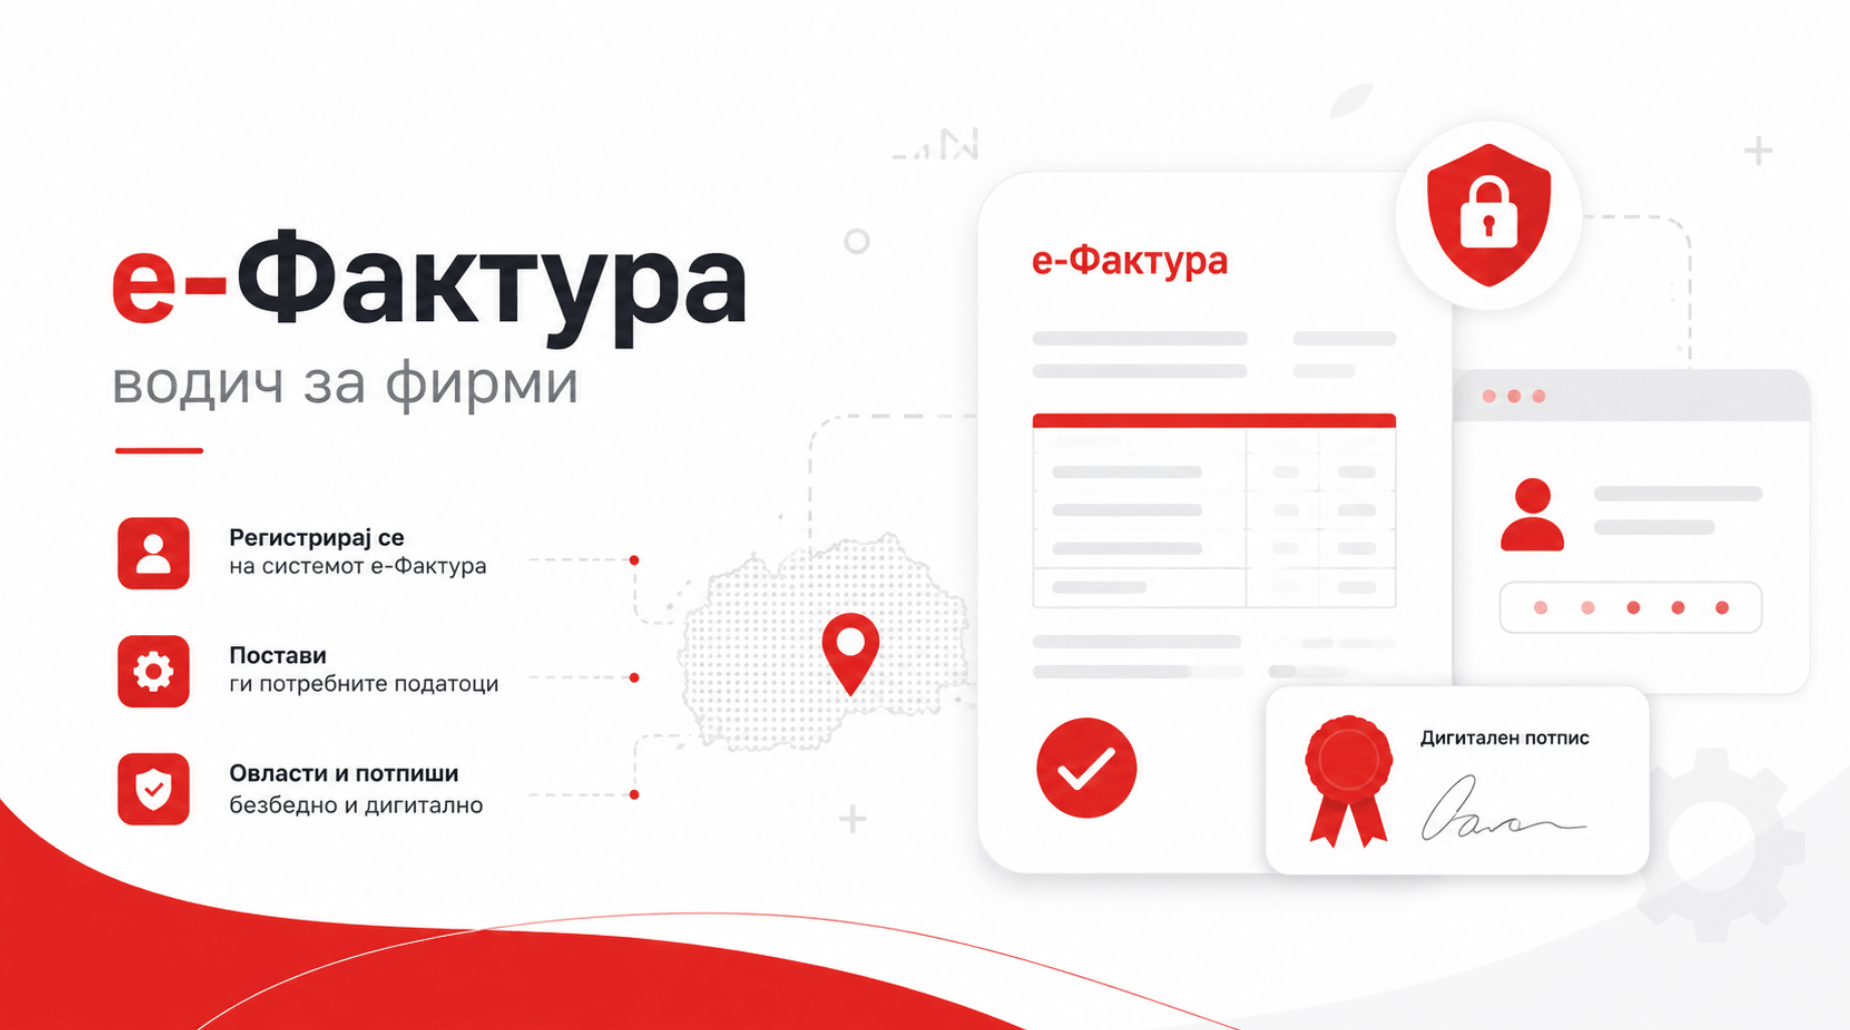
e-Invoice in North Macedonia: A Simple Step-by-Step Guide for Preparing Your Company
- By zemimk
- In Инфо
- With No Comments
- Tagged with .mk domen e faktura mk host
- On 25 Aug | '2026

Macedonian companies are preparing for the new e-Invoice (e-faktura) system introduced by the Public Revenue Office. Instead of invoices being exchanged only as paper documents or PDFs, the new system enables electronic creation, sending, receiving and processing of invoices.
If you own or manage a company, now is a good time to test the system and prepare the people who will work with invoices.
For Zemi.mk users, a Macedonian hosting provider and official registrar of .mk domains, we are also preparing an additional solution. Gendox will soon be available free of charge to Zemi.mk users, and its development is also taking into account the new e-Invoice infrastructure of the Public Revenue Office.
This guide explains, in simple terms, what a company needs to do to start testing e-Invoice.
What is e-Invoice?
e-Invoice is the new system of the Public Revenue Office for the electronic exchange of invoices.
It does not simply mean replacing a paper invoice with a PDF sent by email.
The invoice is created and processed as an electronic document within the system, while e-Invoice can cover the entire process: creating, sending, receiving, accepting, rejecting and cancelling an invoice.
The Public Revenue Office currently provides a test platform where companies can try the system before its full implementation.
What do you need to get started?
You do not need a special ERP system or an IT department simply to start testing.
You need:
- a person who will work with e-Invoice;
- access to the Public Revenue Office system;
- the appropriate e-Invoice permission;
- a valid qualified digital certificate;
- a computer from which the system will be used.
If you use an accountant, first decide who will actually work with e-Invoice: the company manager, an employee or the accountant.
STEP 1: Decide who will work with e-Invoice
First decide who will be responsible for invoices.
This could be:
- the company manager;
- an administrative employee;
- someone from finance;
- an in-house accountant;
- an external accounting company.
It is not good practice for everyone in the company to use the same account.
Ideally, every person who needs to work with the system should have their own access and appropriate authorization.
STEP 2: Check whether the person has access to the Public Revenue Office electronic services
The person who will work with e-Invoice needs to be registered as a user of the electronic services of the Public Revenue Office.
If that person already uses the electronic services of the Public Revenue Office, this part may already be completed.
If they are not registered, they first need to create a user account.
For individuals, check whether their user profile allows them to receive authorizations from other users.
This is important when, for example, a company wants to authorize an employee or accountant to work on its behalf.
STEP 3: Open the registration and permissions page for e-Invoice
The Public Revenue Office provides a dedicated test page for registration and assigning e-Invoice permissions.
In the official documentation, look for the section:
“Registration and assigning privileges”
Open the page and sign in using the account that is authorized to manage permissions for the company.
STEP 4: Select your company
After signing in, select the legal entity for which you want to configure access.
If you are a manager or authorized person for several companies, carefully check that you have selected the correct company.
This is important because e-Invoice permissions are assigned for a specific taxpayer.
STEP 5: Add the person who will work with e-Invoice
The next step is to select or add the person who should receive access.
This can be an employee, accountant or another authorized person.
Enter the information requested by the system.
If the system cannot find the person, check:
- whether the person has a user account;
- whether the entered information is correct;
- whether their profile allows them to receive authorizations.
Once the person is recognized by the system, continue with assigning the appropriate rights.
STEP 6: Assign the e-Invoice permission
The person needs to receive the appropriate permission to use the e-Invoice system.
Select the relevant permission and save the changes.
You have now defined which person is allowed to access e-Invoice on behalf of the company.
It is important to understand the difference between two things:
Authorization means that the person has the right to act on behalf of the company.
A digital certificate is used to verify the person’s identity and enable electronic signing.
This means there is still one important step after assigning the permission.
STEP 7: Prepare a qualified digital certificate
The person who will work with e-Invoice needs a valid qualified digital certificate.
If you already use a certificate for electronically signing documents or accessing other electronic services, check whether it is still valid.
Check:
- whether the certificate is valid;
- whether it is available on the computer;
- whether the required components are installed;
- whether the user can successfully sign electronic documents.
If the certificate has expired, renew it before continuing.
STEP 8: Open the e-Invoice test platform
Once the permission has been assigned, the authorized person should open the e-Invoice test platform.
The link to the test platform is published in the official documentation of the Public Revenue Office.
Sign in as the authorized person.
STEP 9: Register the digital certificate
When using the test system for the first time, you need to register the valid qualified digital certificate.
Follow the instructions displayed by the system.
If the system requires an additional browser component or extension, use only the components listed in the official Public Revenue Office documentation.
Do not install random “e-Invoice” browser extensions found online.
STEP 10: Create your first test e-Invoice
Once access and the certificate are configured, you can start testing.
It is best to begin with a simple invoice.
Prepare:
- your company information;
- customer information;
- the name of the product or service;
- quantity;
- price;
- tax rate;
- date;
- any other information required by the system.
Enter the information and create a test e-Invoice.
Before sending it, check all information once again.
STEP 11: Send the test invoice
When the invoice is ready, follow the process in the system for signing and sending it.
The goal at this stage is to learn the process.
Do not only test whether you can create a document. Test the entire process from beginning to end.
STEP 12: Check received invoices
e-Invoice is not only used for sending invoices.
Through the system, you will also be able to review invoices received by your company.
Check where the system displays:
- received invoices;
- sent invoices;
- invoice status.
This will be an important part of everyday use.
STEP 13: Test accepting and rejecting invoices
When you receive a test invoice, check how the options for accepting or rejecting it work.
The Public Revenue Office test system allows these processes to be tested.
It is useful for the person who will eventually handle incoming invoices to try this process now.
STEP 14: Test cancelling an invoice
Mistakes happen when issuing invoices.
That is why you should also test what happens when an already-created invoice needs to be cancelled.
It is better to learn this in the test system than to do it for the first time when you urgently need to correct a real invoice.
Do not stop after one test invoice
Once you have successfully created your first invoice, test several situations that actually occur in your company.
For example:
- a standard invoice;
- an invoice with several line items;
- different tax rates;
- an invoice for a service;
- an invoice for a product;
- accepting a received invoice;
- rejecting an invoice;
- cancelling an invoice.
The goal is to understand the process before the system becomes part of your regular operations.
Check your company information now
Before you start using e-Invoice regularly, check whether your business information is correct.
In particular, check:
- company name;
- tax number;
- address;
- bank account;
- customer information;
- supplier information;
- tax rates;
- product and service names and prices.
This is even more important if you use accounting or ERP software.
Incorrect information that previously remained only on a PDF invoice can become a bigger problem once systems start exchanging structured information automatically.
What if you issue only a few invoices per month?
If you run a small company and issue only a small number of invoices, you probably do not need to think about complex integrations immediately.
The Public Revenue Office web application is designed to allow companies to use the system directly.
The most important things are to:
- set up the authorized person;
- assign the appropriate permission;
- register the certificate;
- learn the process.
What if you issue many invoices?
If your company issues dozens, hundreds or thousands of invoices, manually entering every invoice into a web application is not practical.
For such companies, the Public Revenue Office provides an e-Invoice API integration.
This means that your ERP, accounting or other business software can communicate directly with e-Invoice.
For example, you can create an invoice in the software you already use, while the data is sent electronically to the e-Invoice system.
In that case, contact your software provider and ask:
“Will our system be integrated with the Public Revenue Office e-Invoice system?”
If you develop your own software, use the technical documentation and API specifications published by the Public Revenue Office.
Gendox and e-Invoice
At Zemi.mk, we are already working on the next generation of Gendox, our business platform that will soon be available free of charge to Zemi.mk users.
The idea is to allow companies to manage customers, business information, financial processes, documents and invoicing in one place.
In the development of Gendox, we are following the official specifications and the development of the Public Revenue Office e-Invoice system.
The goal is simple: instead of entering the same information manually into several different systems, as much of the process as possible should be automated.
The final form of the integration will depend on the final specifications and rules of the e-Invoice system.
Free for Zemi.mk users
Zemi.mk is a Macedonian hosting provider and an official registrar of .mk domains, while Gendox is the next step in expanding the services we provide to Macedonian companies.
If you already use Zemi.mk for your .mk domain, website or Macedonian web hosting, Gendox will soon be available to you as an additional free tool.
From your domain and website to part of your company’s everyday business processes.
Quick checklist: what should you do today?
If we reduce everything above to the essentials, do the following:
1. Decide who will work with e-Invoice.
2. Check whether that person has access to the Public Revenue Office electronic services.
3. Open the Public Revenue Office page for registration and assigning permissions.
4. Select your company.
5. Add the person who will work with e-Invoice.
6. Assign the e-Invoice permission.
7. Check whether the person has a valid qualified digital certificate.
8. Open the e-Invoice test platform.
9. Register the certificate.
10. Create a test invoice.
11. Send it.
12. Check received and sent invoices.
13. Try accepting, rejecting and cancelling an invoice.
Once you have completed these steps, you will already have a good practical understanding of how e-Invoice works.
Where can you find the official instructions?
The Public Revenue Office provides dedicated official documentation for the e-Invoice project.
It includes user instructions, technical documentation, information about registration and permissions, as well as API integration instructions.
Because the system is still being developed and tested, always check the latest version of the official instructions before making changes to your systems.
The Public Revenue Office has also published a dedicated contact channel for questions and feedback related to e-Invoice testing.
Do not wait until the last moment
For most small companies, preparing for e-Invoice does not need to be complicated.
Most of the process comes down to correctly configuring users, permissions and the digital certificate, followed by some basic practical testing.
Do it while the system is still in the test phase.
You will know who has access, whether the certificate works, how an invoice is created and what the entire process looks like before it becomes part of your daily work.
And if you are a Zemi.mk user, follow our updates about Gendox. The platform will soon be available free of charge to Zemi.mk users, and we are developing it with the new e-Invoice infrastructure in North Macedonia in mind.
Zemi.mk Is the Fastest-Growing .mk Domain Registrar - From Top 20 to Top 3 in Just 10 Years 
Next post
 Vibe coding on Zemi.mk: from an idea to a live website with AI, GitHub and cPanel
Previous post