
Zemk.mk – Блог

Posts in the mk hosting category

The DNS zone is the place where all DNS records for your domain are stored. It determines where the domain points, where email will work, and how other services will be connected to it.

At Zemi.mk, the way you edit the DNS zone depends on where the domain’s nameservers are pointed.

If you only have a domain and do not use a hosting package, with the correct nameservers set, you can edit the DNS records through your user profile. If the domain’s nameservers are pointed to the hosting package you use, then DNS changes are made through cPanel.

This guide will help you easily identify which method is right for you and how to make the change step by step.

When are DNS records edited through the user profile?

Editing through the user profile is suitable when you have a domain and want to manage the DNS zone directly from the Zemi.mk user panel.

This is especially useful when the domain owner does not use a hosting package, or when the user has other external services for creating a website, such as Shopify, Lovable, and similar platforms.

In that case, if the nameservers shown in the DNS zone panel are set, namely n30.zemi.mk and n31.zemi.mk, you can activate the DNS zone and then edit the DNS records directly through your user profile.

When are DNS records edited through cPanel?

If the domain uses the same nameservers that point to your hosting package, then the DNS zone is usually edited through cPanel.

This means that the domain is connected to the hosting environment, so DNS record management is done from the hosting panel itself. This is where you will most often edit records such as A, CNAME, MX, or TXT, especially if the domain already has an active website or email service on the same hosting.

Put simply, if you manage DNS for a standalone domain, you work through the user profile. If the domain is connected to a hosting package and uses nameservers that point to that hosting, you work through cPanel.

How to edit the DNS zone through your Zemi.mk user profile

The process is simple and is done directly from your user profile.

First, log in to your Zemi.mk profile. After the dashboard loads, select Domains from the left menu. There, you will see all domains available on your profile.

From the list, click Details for the domain you want to edit. This will open the page with information about the selected domain, where you will see the basic details, nameservers, and other available management options.

Then select Edit DNS Zone.

If the DNS zone has not yet been activated, the system will show you a message explaining that, in order to use the DNS zone, you need to set the appropriate nameservers. In this section, you will also see which nameservers should be used, namely n30.zemi.mk and n31.zemi.mk.

You can change the nameservers for the domain from the domain management menu, that is, in the domain details, in the Nameservers section, by selecting Edit.


Once you are on this page, click Activate DNS.

It is very important to pay attention to the following:
once activation begins, you need to wait for the process to complete fully. Do not refresh the page and do not close it while activation is in progress.

After successful activation, the DNS zone will become available for editing, and you will be able to view and modify the existing DNS records.

The table will display the records for the domain, and next to each record you will have an option to edit it. When you click edit, a form opens where you will usually see the following fields:

Name — the name of the record, meaning the domain or subdomain the record refers to
TTL — the record refresh time
Type — the type of DNS record
Address / Data — the value you want to enter

After making the necessary change, save the changes.

This way, you can edit different DNS records depending on what you want to achieve. For example, if you want the domain to point to a specific IP address, you will usually edit an A record. If you want a subdomain to point to another domain, you will usually use a CNAME. If you are setting up email or verification for a service, you may need to add an MX or TXT record.

How to edit the DNS zone through cPanel

If the domain uses the same nameservers as your hosting package, then DNS records are edited through cPanel.

To begin, log in to cPanel for your hosting package. In cPanel, look for the DNS management tool marked as Zone Editor.
After opening the tool, you will see a list of domains connected to your hosting package. Select the domain for which you want to make changes.

You can then add a new record or edit an existing one. Depending on your needs, you will choose the record type, enter the name, value, and any other required fields, then save the changes.

Always first check whether the domain really uses the same nameservers as the hosting package. This is the most important step, because it determines whether the change should be made in the user profile or in cPanel.

What is important to know before making a DNS change

DNS changes do not always apply immediately. Although sometimes a change can become visible quickly, in certain cases it may take more time for the update to fully propagate.

The reason is that DNS records are cached and refreshed according to the TTL value, as well as according to the networks and providers through which the lookup is performed. That is why it is normal for the change to appear sooner for some users and later for others.

For this reason, after making a change, it is good to wait for a certain period before concluding that something is not working. This is especially important if you are changing records related to a website, email, or verification services.

How to know which method is right for you

If you only have a domain and want to manage the DNS zone directly from your profile, activate the DNS zone in the user profile and use the listed nameservers.

If the domain is already connected to a hosting package and uses the same nameservers as the hosting, then edit the DNS records through cPanel.

Once you understand this, the whole process becomes much simpler and you avoid making changes in the wrong place.

Changing a DNS zone does not have to be complicated if you know in advance where the change needs to be made.

If you are not sure which DNS record you need to enter or exactly where the change should be made, contact Zemi.mk support for guidance before proceeding.

We are giving away three tickets for this year’s WordCamp Skopje 2023. To participate in the draw, fill out the form no later than 23:59 on October 11. The winners will be selected at random.
Applications submitted after the designated period has expired will not be considered. Incorrect or incomplete information will also be considered invalid.

Zemi.mk supported the .mk WordPress community and the organization of WordCamp Skopje 2023 this year with a Gold Sponsorship.

In response to user feedback, Zemi.mk has introduced the new Mini web hosting package, intended for companies and users who are just starting their online presence. The new package comes with almost the same powerful performance as its Pro predecessors, but with significantly less storage space — 1024MB — at a price of only 999 denars per year!

The Mini package can only be used with newly registered .mk domains at Zemi.mk.

You can find more details about the new web hosting package at the following link: [https://zemi.mk/mini-web-hosting.aspx](https://zemi.mk/mini-web-hosting.aspx)

If the storage space is not enough for your needs, take a look at the Pro packages, with storage space from 10 to 50GB, at the following link: [https://zemi.mk/hosting.aspx](https://zemi.mk/hosting.aspx)

From the following year, the .mk domain is renewed separately at a price of 649 denars or the current renewal price for .mk domains.

Shared web hosting is a website hosting service that allows multiple websites to use the same server.

You may be wondering why anyone would do that. The answer is simple: lower costs.

A server can host more than one website. By using server resources across different users, the costs of maintaining the server are significantly reduced.

Before we dive into more details about shared web hosting, let’s first see how servers and hosting actually work.

How does a web hosting server work?

Put simply, every time you enter a URL into your browser, it tries to find the server where the requested website is stored or “hosted”. Once the browser locates the server, it sends an HTTP request to it, and in return receives data that is displayed as a web page.

With shared web hosting, the process described above is almost identical. The only difference is that one server is responsible for hosting the data for multiple websites.

Think of shared web hosting as a train with multiple carriages. The carriages are the websites, and the train itself is the server.

Although you are on the same train, your journey is different from that of the other passengers. What you share is the same locomotive that gets you to your destination, but you still have the flexibility and freedom to enjoy a unique journey and experience.

Shared web hosting is the most economical option among all web hosting solutions, which is why it is also preferred by the largest number of users.

Who is shared web hosting intended for?

This type of hosting is ideal for blogs, corporate websites, informational websites, beginners in website development, WordPress users, and online stores that are just starting to build their online presence. Sharing a server means that your website is still not at the stage where it serves a large number of visitors, hosts videos, or requires huge monthly traffic.

What are the benefits of shared hosting?

Shared hosting is one of the most popular solutions in the Zemi.mk offer. Of course, there is a good reason for that.

Let’s look at some of the benefits that make shared web hosting a favorite among users.

An economical solution.

No one wants to invest a lot of money in building their website, blog, or online store. Shared web hosting allows you to get the hosting service you need for only a fraction of the price you would pay for hosting on a dedicated server, because other users also contribute to the server maintenance costs.


Easy to use, with no prior experience required.

Hosting a website when you have no previous experience can sound like a difficult task. Shared web hosting is created to simplify both the setup and management of your website data.

Once you purchase one of the basic web hosting packages from Zemi.mk, you get access to your “cPanel”, a web-based control panel considered one of the most intuitive and easy to use. Through it, you can manage almost every aspect of your online presence, from creating and checking your business email address to managing your .mk domain.

Now that you have already purchased a .mk domain and web hosting from Zemi.mk, and you have decided to use WordPress as the platform for creating your website — great choice — if you are not creating a design from scratch, it is time to choose the most suitable theme for your website. When creating this list, three criteria were taken into account: the theme should be free, regularly updated, and responsive, meaning adapted to work on any device — mobile, desktop, tablet, and more.

In the past, we have already written about how to install WordPress or a theme. To avoid repeating ourselves, if this is your first time using WordPress, click here. If you are not sure how to install a WordPress theme, click here.

Astra

astra-zemimk-wordpress-theme

Astra, as the company itself boldly promotes it, is the most popular theme for WordPress, with more than 1.6 million websites running on it. Users love it because of its high level of customization, the excellent ready-made starter designs, which are available in a large number and can be installed with just a few clicks, and edited with the free Elementor drag-and-drop builder for WordPress themes. Another major advantage is the developers’ focus on optimizing Astra to work with popular add-ons and plugins within the WordPress ecosystem.


Neve

neve-zemimk-wordpress

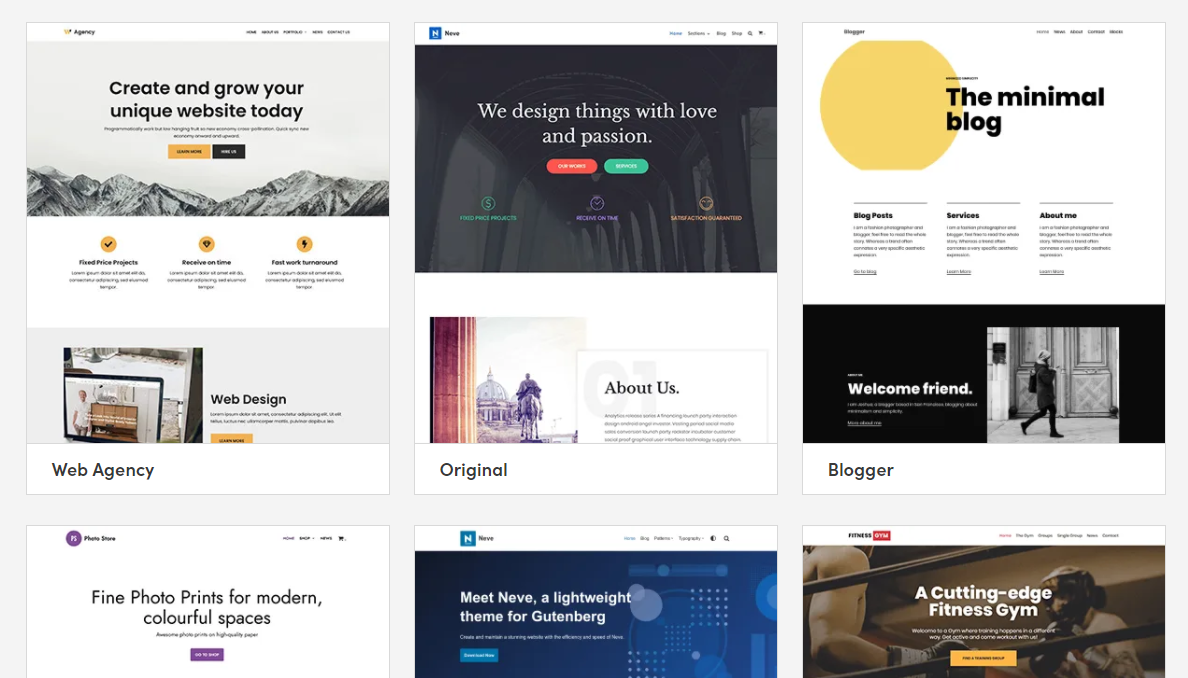
Neve was created to give your website a fresh and attractive look. Developed according to modern WordPress standards, including compatibility with Gutenberg and Elementor, Neve is a suitable choice for every entrepreneur because of its multipurpose design. In addition, the theme comes with 30+ ready-made starter sites.


Airi

airi-zemimk-wordpress-theme

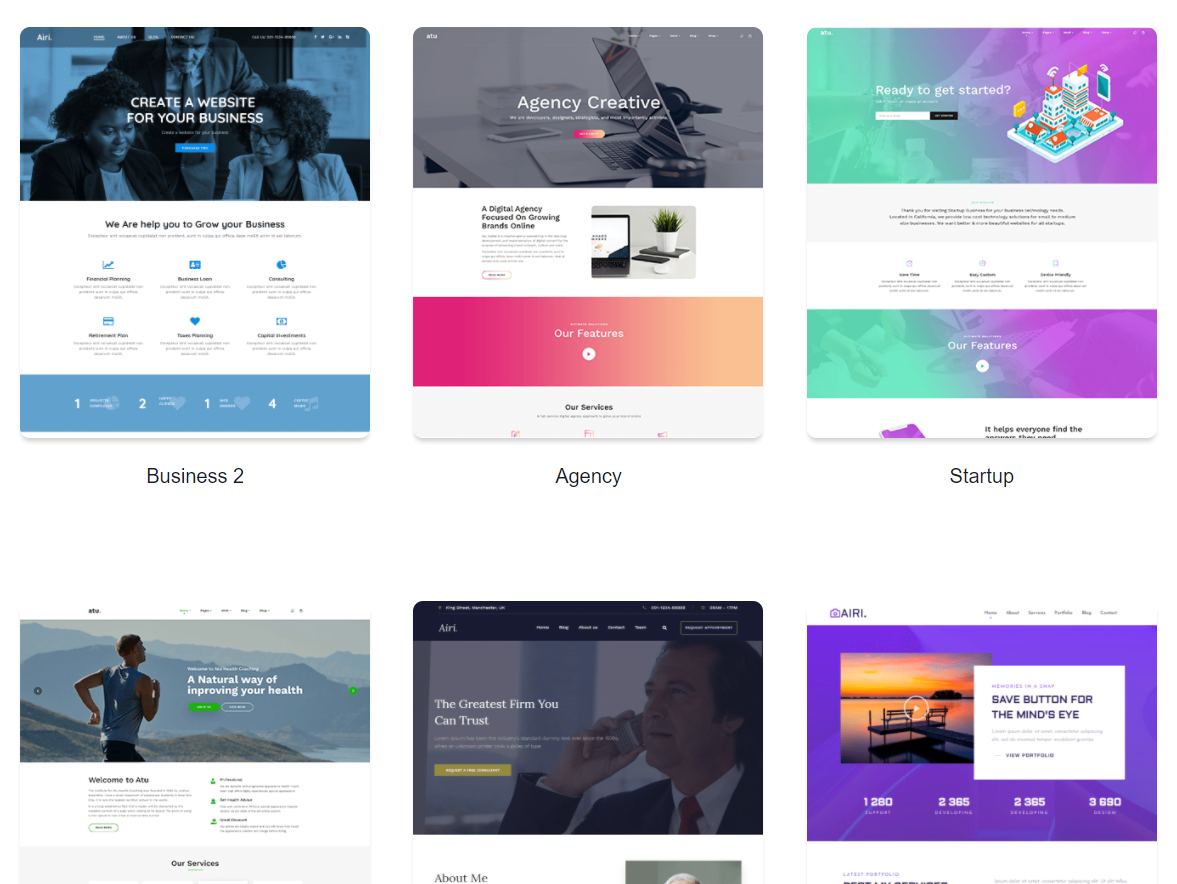
Airi is a powerful, flexible, and lightweight theme for your new corporate website. Featuring full Elementor integration, this multipurpose theme is an excellent choice for all types of companies or freelancer websites. With its modern look and many customization options, Airi is a great theme if you want to create a website from scratch or use one of the predefined website templates from its large collection, using Elementor. Even more, the theme offers support for WooCommerce, making it easier to create WordPress-based online stores.


OceanWP

oceanwp-zemimk-wordpress-theme

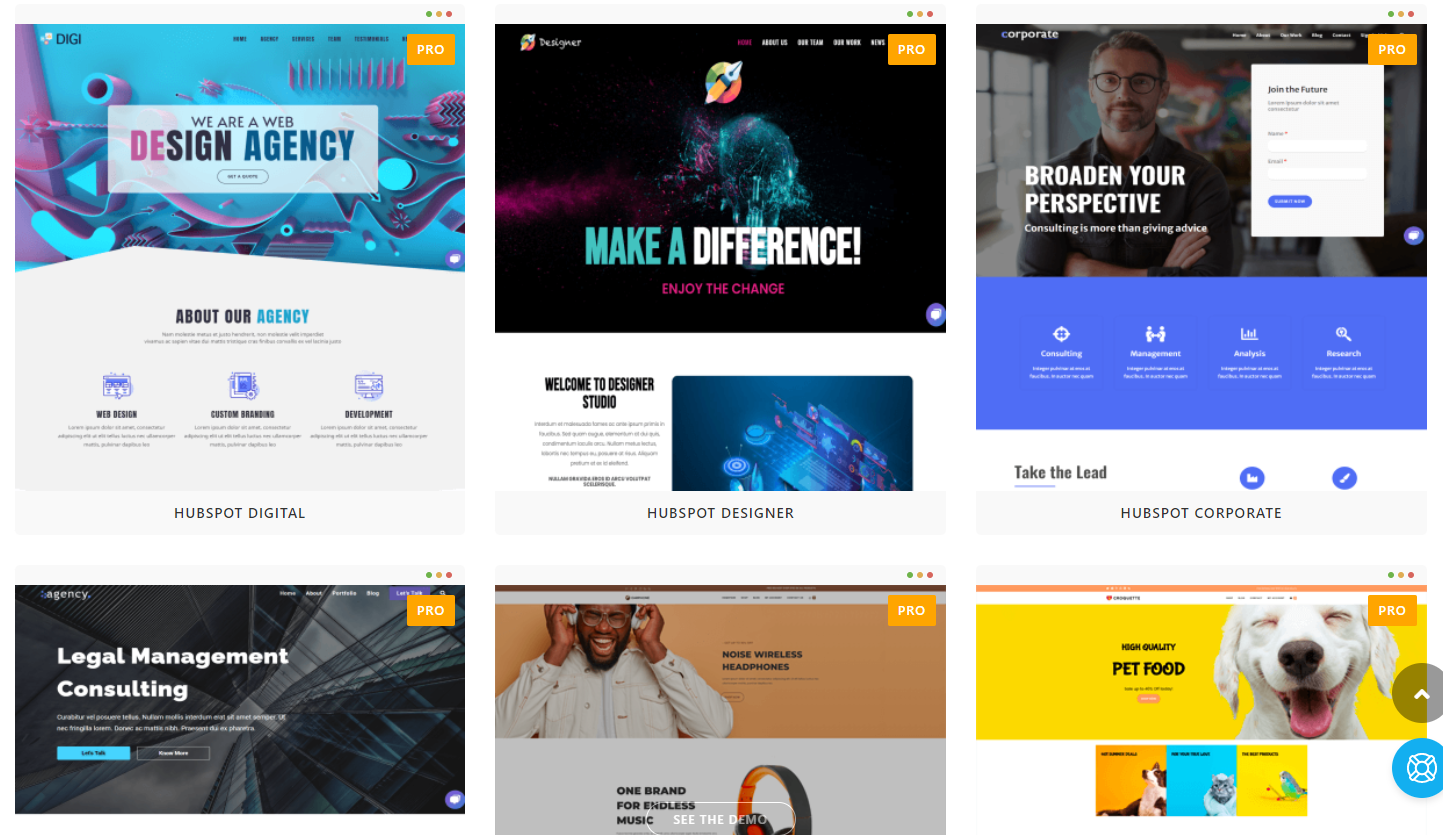
A fully customizable theme, suitable for almost any purpose. You can use it for blogging, business, e-commerce, travel, or portfolio websites by choosing one of the starter demo themes. OceanWP has a modern design, with excellent animations and interactive sections. Every feature, including parallax effects, gives this theme an attractive appearance and secures its place among the best free WordPress themes.


Aronia

aronia-wordpress-theme-zemimk

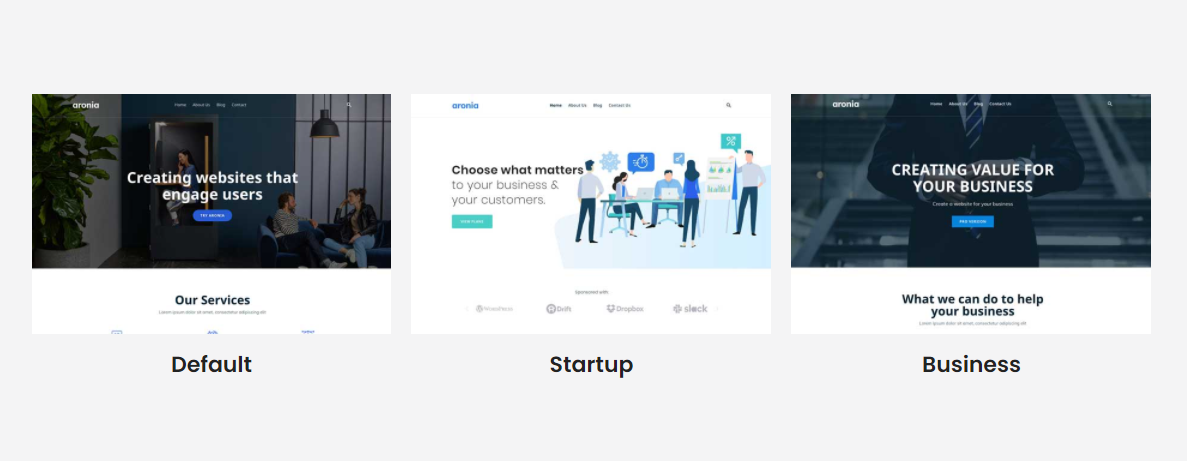
Aronia is a free WordPress theme with a clean and modern design, suitable for creating portfolio websites as well as business websites. The theme consists of 3 demo themes that are ready to use and fully compatible with Elementor, the most popular WordPress theme builder. With Elementor, you can easily customize the appearance of your website.

Aronia is compatible with several useful plugins, easy to customize, and fully responsive.


Source:

At the time of writing this post, and most likely for the years to come, WordPress remains at the top of the list of the most widely used platforms for building websites. It has not earned the title “king” of the web space for nothing. The list of benefits that come with using this CMS — Content Management System — is long. Here are some of them.


  • WordPress is free

WordPress is free software. This means you can freely download it, install it, use it, and modify it to suit your needs. You can use it to create any type of website.

While the WordPress software itself is free, you need a domain and web hosting in order to install it. For this purpose, take a look at our basic hosting packages, which are optimized for WordPress.

A domain is the address of your website on the internet — what your users type into the address bar of their browser to access your website, for example, zemi.mk.

Web hosting, on the other hand, is server space available 24/7, where all the files and databases of your website are stored.


  • WordPress is easy to use

Although it is one of the most flexible and powerful platforms, WordPress is quite easy for beginners to use.

It comes with a simple dashboard with different options listed in the sidebar. You can easily create posts and pages, change the appearance of your website, add navigation menus, and much more.


  • WordPress can be fully adapted to your needs

Most WordPress users are neither web designers nor programmers. In fact, most people start using WordPress without any previous technical background.

WordPress is the perfect solution for beginners because it offers thousands of free themes — ready-made designs for your website — to choose from. There is a perfect WordPress theme for almost every type of website, whether it is a blog, corporate website, or online store.

WordPress themes are easy to customize because many of them come with their own options panel, allowing you to change colors, upload your logo, change the background, create beautiful sliders, and truly adapt the design to your needs without writing any code at all.


  • WordPress is safe to use

WordPress is seriously developed with the security of your website in mind.

However, there are many plugins that can further increase the security of websites built with WordPress, such as Wordfence, Sucuri, and others.

Behind WordPress stands a strong community of thousands of users, developers, and small businesses. As a community, they all ensure that WordPress is here to stay for the long term.

This tutorial will help you install and activate a WordPress theme. A theme can be installed in two ways: by choosing one from the theme catalog within WordPress, or by uploading a theme you have purchased from a third party. For paid premium themes, we recommend browsing ThemeForest or TemplateMonster.

First, we will explain the process of installing a theme from the WordPress theme catalog.

Step 1

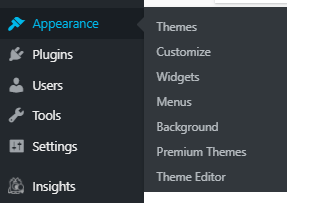
After successfully logging in to the WordPress admin area, from the menu on the left side, select Appearance -> Themes, or if your WordPress is in Macedonian, Изглед -> Теми.

wordpress-tema-chekor-1

Step 2

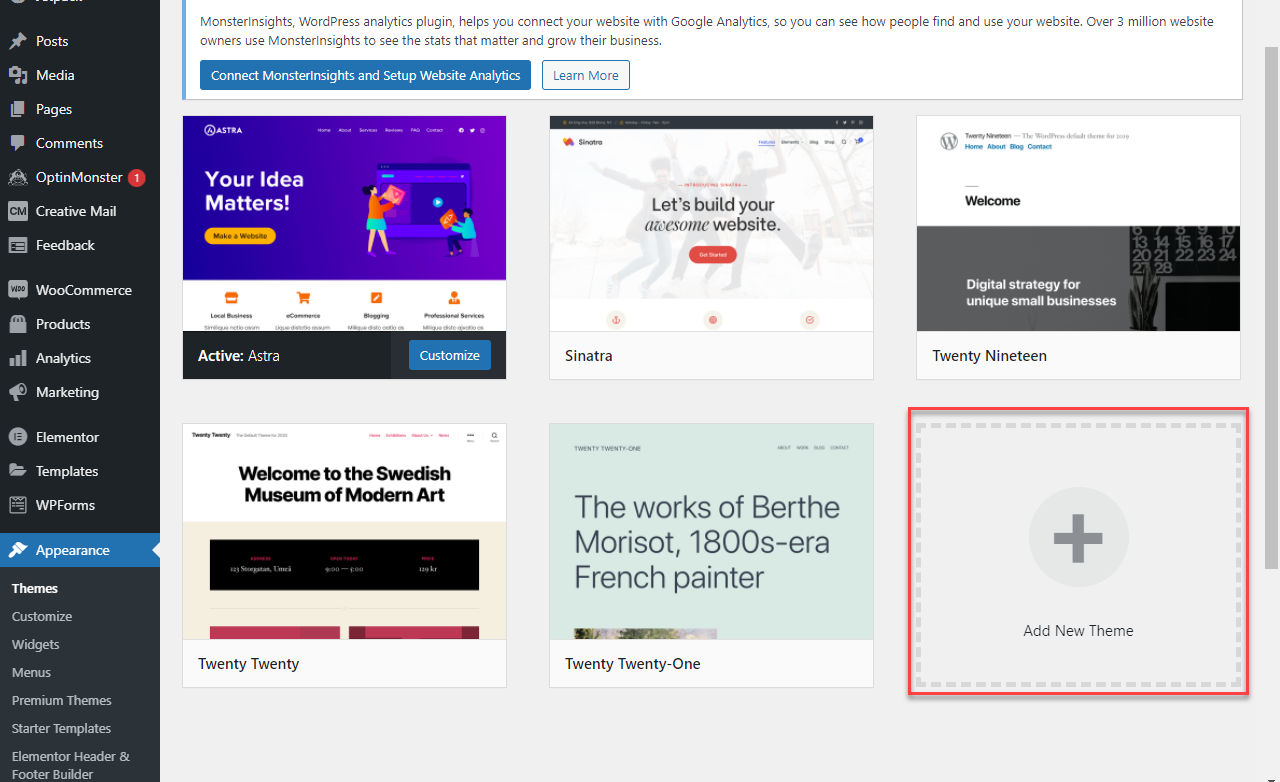
This will take you to the “Appearance” section of WordPress, where the themes currently installed on your WordPress website are listed. To add a new theme, select “Add New”. This button is usually at the bottom.

wordpress-tema-dodadi-tema-chekor-2


Step 3

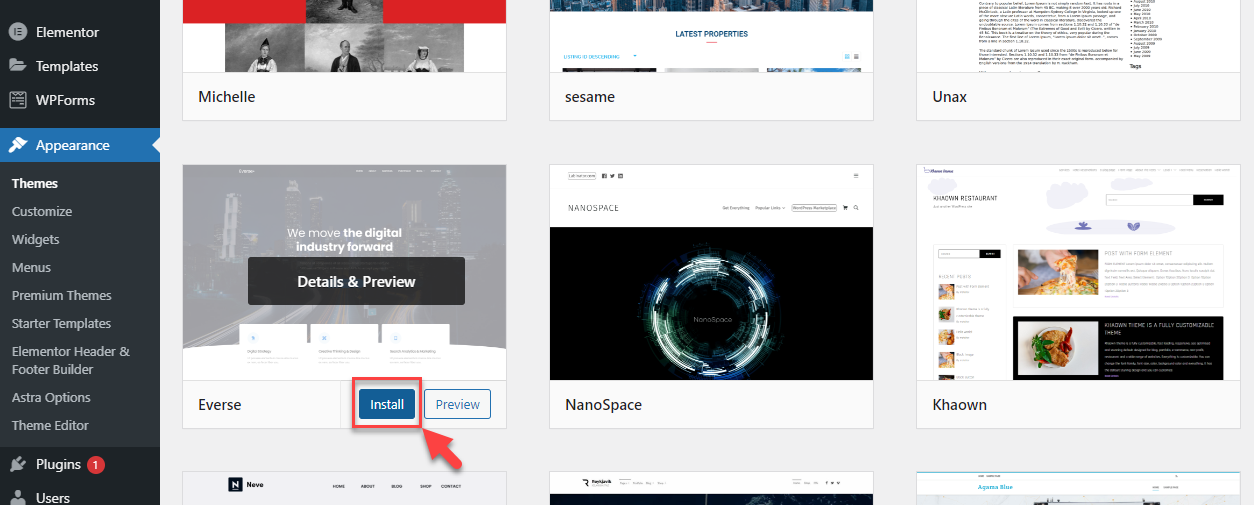
Here, you can search for a theme by using the advanced “Feature Filter”, then select “Apply Filters”. The themes will then be listed according to the characteristics you selected in the filter. Once you choose a theme you like, click “Install”.

wordpress-tema-dodadi-tema-chekor-4


Step 4

Theme installation may take some time, depending on the size of the theme. After the theme is installed, you need to activate it by clicking the “Activate” button.

wordpress-tema-dodadi-tema-chekor-5

The theme is now active and you can continue using it.


What should you do if you have already purchased a theme and want to upload and activate it on your WordPress website?

If you have already purchased a theme and have it on your local computer, you need to upload and activate it. The first two steps are the same as above, so we will not repeat them.

Step 3

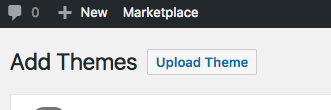
At this step, you need to upload the theme from your local computer. The theme must be in a compressed file format (.zip). To do this, click the “Upload Theme” button, select the .zip file of the theme, and upload it.

wordpress-upload-tema-dodadi-tema-chekor-1

During the theme upload process, make sure to keep your browser window open; otherwise, the upload may not complete successfully. Once the theme is fully uploaded, activate it in the same way as described in Step 4 above.

Note:

During the theme upload process, an error can often occur because the maximum upload limit has been exceeded (Upload Max Filesize). To increase the maximum allowed file upload limit, read the guide at the following link.


If you are wondering how to create a website yourself, but you have no technical knowledge, do not know any programming languages, and do not know how to design websites, we have good news for you. Watch our latest video tutorial on how to create a website by yourself, without a budget, using free tools and the tools available with the hosting packages from Zemi.mk.

In this tutorial, we used WordPress, the free drag-and-drop website builder Elementor, and the free WordPress theme Astra.

Creating a website with the trio of WordPress, Elementor, and Astra is truly simple and intuitive. All you need is a little imagination and willingness. Who knows, maybe the next Macedonian web designer of the year is hiding inside you. Make yourself a double espresso and let’s begin!


To create a website with Elementor, you first need to have WordPress installed on your domain. You can read how to install WordPress here.

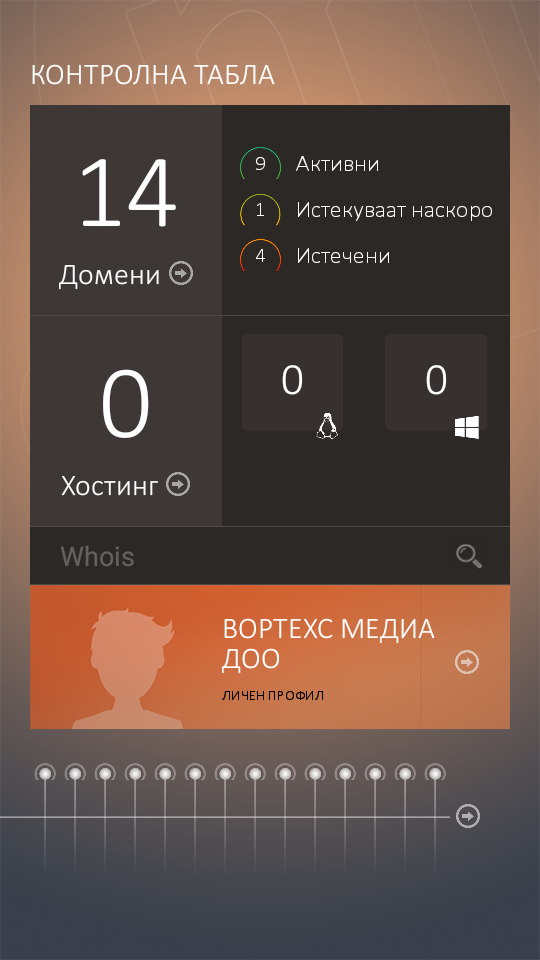
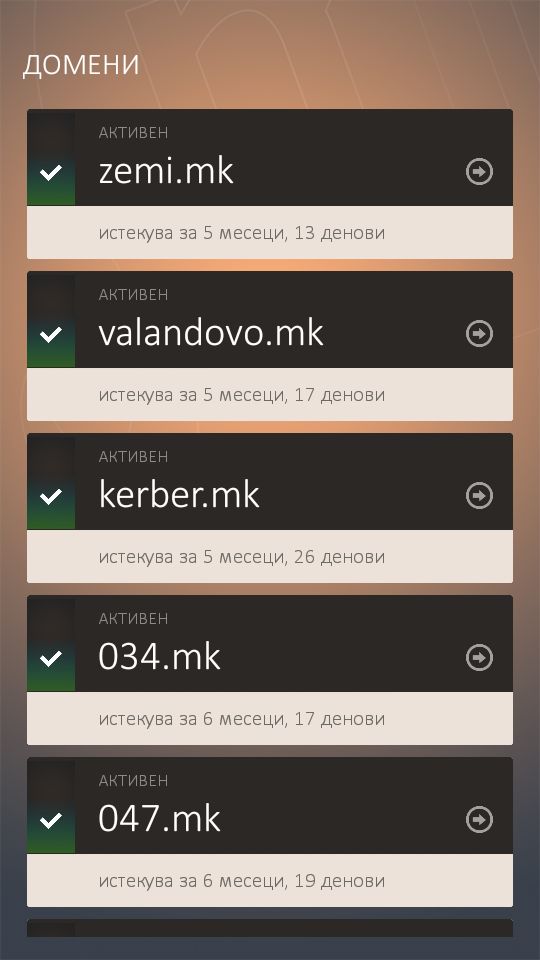
It is our great pleasure to present the Android application for managing your Zemi.mk services :).


screenshot_2016-11-22-13-27-40 screenshot_2016-11-22-13-27-51


If your .mk domains are already on the right platform, Zemi.mk, and you own an Android phone, we warmly recommend installing the application. By logging in with your Zemi.mk username and password, you can receive notifications on your smartphone at any time about the expiry of your domain or web hosting package.

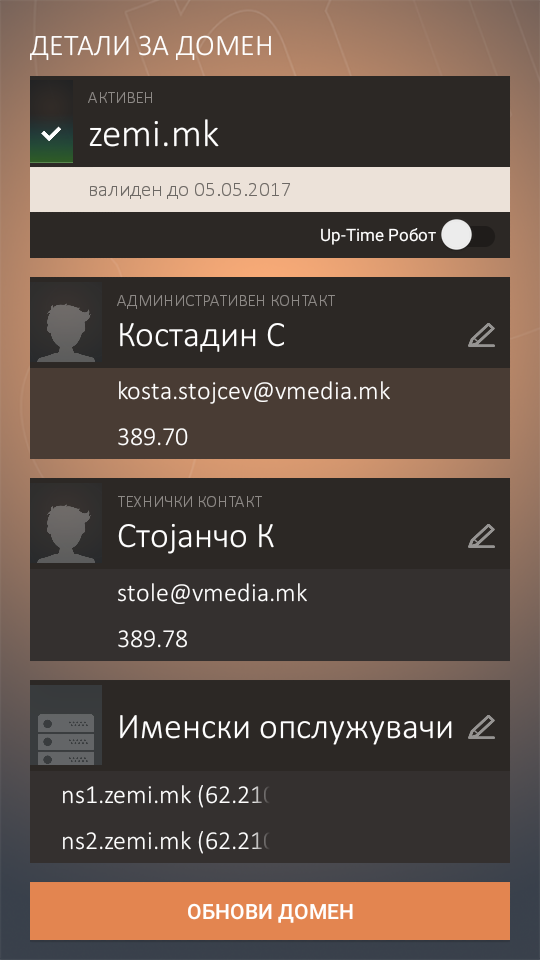
In addition to expiry notifications for Zemi.mk services, we have also created the “Up-time Robot”, designed to check whether your website is publicly available or requires your attention. With the Up-time Robot, your websites are automatically checked every 5 minutes to confirm whether they are accessible. You can enable or disable it separately for each domain.

We have also enabled service renewals through the application with online payment, as well as changes to domain details such as technical or administrative contacts and nameservers.


screenshot_2016-11-22-13-28-52 splash


Through the application, you can also search for .mk domains with a detailed WHOIS report.

You can download it from the following link, or search for it on Google Play using the keyword “Zemi.mk”.

The application was developed by Vortechs Media DOO, Valandovo.
Development: Aleksandar Manev
Design: Stole Kitanovikj
Web Service: Kostadin Stojchev

Softaculous auto-installer allows you to install web applications with just one click. A large number of applications are available for simple installation through Softaculous, including portal applications, complete e-commerce solutions, CMS platforms, blogs, forums, and much more. In addition to simplifying the installation of these types of applications on your hosting account, Softaculous also offers the option to create backups, allowing you to back up your installations at any time.

You can view the complete list of web applications available through Softaculous here.

Softaculous is available to all users of Linux shared web hosting purchased from Zemi.mk, and upon customer request, it can also be installed on any dedicated server using a Linux operating system, with an appropriate additional fee.

The most commonly installed web applications through Softaculous are: WordPress, Joomla, phpBB, Magento, PrestaShop, and others.

softaculous_big