Zemk.mk – Блог

Posts in the Инфо category

We are excited to introduce our newest web hosting package, “Worgen Pro Unlimited”. As the name suggests, this package offers not only unlimited traffic, but also unlimited storage space, allowing you to grow your website freely, without any restrictions. In addition, you can host up to 10 different websites on a single cPanel account, making it the perfect choice for those who want to manage multiple websites without the hassle of maintaining them through separate hosting accounts.

At the heart of “Worgen Pro Unlimited” is cloud infrastructure, which guarantees 24/7 availability for your website — 99.9% uptime — along with excellent security and speed. With 4GB RAM and 2 CPU cores — 200% — you get the power you need to handle traffic spikes and provide a flawless user experience for your visitors. Whether you run a small blog or an online store with thousands of products, “Worgen Pro Unlimited” can handle it all.

But that’s not all. The package comes with up to 20% discount in the first year, free .mk domain registration, as well as a free AutoSSL certificate. In addition, our expert support team is available at any time to help you with any issues you may encounter.

What sets “Worgen Pro Unlimited” apart from other web hosting packages is the unbeatable value it offers. With unlimited storage space and the ability to host multiple websites, it is the perfect choice for entrepreneurs, freelancers, and small, medium, and large businesses that want to save money without compromising the quality of service.

*Inodes limit: 500,000

You can view the package details at the following link: https://zemi.mk/Hosting/Details/hosting-premium-unlimited/_Fn-mzMxUQJtUTHHYWOCEg

Cloud technology is the organic evolution of traditional server infrastructure, developed as a response to the increasingly complex and sophisticated demands of users and the business community, which is constantly searching for new, well-organized, and secure IT infrastructure.

It is our great pleasure to inform you that in 2022 we fully completed the transformation of our server infrastructure and carried out an almost complete transfer of our services to public cloud infrastructure, which was also a strategic commitment of our company.

This means that your websites hosted on the shared hosting packages from Zemi.mk — with the exception of the MK packages — now fully use the benefits of the public cloud infrastructure of some of the world’s leading cloud providers: Linode, OVHcloud, and Amazon AWS, and in the near future Google Cloud, Microsoft Azure, and DigitalOcean as well.

What are the advantages of cloud infrastructure compared to traditional infrastructure?

1. Reliability: Public cloud service providers have multiple data centers and additional robust protection systems that ensure the highest level of availability for your websites, even in the event of hardware failure.

In case of a problem, your websites and other data will automatically be transferred to new hosting systems without interruptions or downtime. On a traditional web server, a faulty disk can cause poor performance or data loss. But this is not the case with the cloud providers we use.

2. Security: Public cloud service providers invest heavily in security measures for data protection. They offer advanced security measures, such as encryption and multiple layers of security.

3. Scalability: This is especially important for shared hosting services. The ability to quickly, efficiently, and easily allocate server resources reduces the risk of service interruption due to server overload to a minimum, or eliminates it entirely.

At the beginning of the new year, 2023, with the transfer of the remaining accounts to the cloud, we warmly welcome you to the Cloud! ☁️

You can view the shared “Pro” web hosting packages from Zemi.mk at the following link: [https://zemi.mk/hosting.aspx](https://zemi.mk/hosting.aspx)

In response to user feedback, Zemi.mk has introduced the new Mini web hosting package, intended for companies and users who are just starting their online presence. The new package comes with almost the same powerful performance as its Pro predecessors, but with significantly less storage space — 1024MB — at a price of only 999 denars per year!

The Mini package can only be used with newly registered .mk domains at Zemi.mk.

You can find more details about the new web hosting package at the following link: [https://zemi.mk/mini-web-hosting.aspx](https://zemi.mk/mini-web-hosting.aspx)

If the storage space is not enough for your needs, take a look at the Pro packages, with storage space from 10 to 50GB, at the following link: [https://zemi.mk/hosting.aspx](https://zemi.mk/hosting.aspx)

From the following year, the .mk domain is renewed separately at a price of 649 denars or the current renewal price for .mk domains.

Shared web hosting is a website hosting service that allows multiple websites to use the same server.

You may be wondering why anyone would do that. The answer is simple: lower costs.

A server can host more than one website. By using server resources across different users, the costs of maintaining the server are significantly reduced.

Before we dive into more details about shared web hosting, let’s first see how servers and hosting actually work.

How does a web hosting server work?

Put simply, every time you enter a URL into your browser, it tries to find the server where the requested website is stored or “hosted”. Once the browser locates the server, it sends an HTTP request to it, and in return receives data that is displayed as a web page.

With shared web hosting, the process described above is almost identical. The only difference is that one server is responsible for hosting the data for multiple websites.

Think of shared web hosting as a train with multiple carriages. The carriages are the websites, and the train itself is the server.

Although you are on the same train, your journey is different from that of the other passengers. What you share is the same locomotive that gets you to your destination, but you still have the flexibility and freedom to enjoy a unique journey and experience.

Shared web hosting is the most economical option among all web hosting solutions, which is why it is also preferred by the largest number of users.

Who is shared web hosting intended for?

This type of hosting is ideal for blogs, corporate websites, informational websites, beginners in website development, WordPress users, and online stores that are just starting to build their online presence. Sharing a server means that your website is still not at the stage where it serves a large number of visitors, hosts videos, or requires huge monthly traffic.

What are the benefits of shared hosting?

Shared hosting is one of the most popular solutions in the Zemi.mk offer. Of course, there is a good reason for that.

Let’s look at some of the benefits that make shared web hosting a favorite among users.

An economical solution.

No one wants to invest a lot of money in building their website, blog, or online store. Shared web hosting allows you to get the hosting service you need for only a fraction of the price you would pay for hosting on a dedicated server, because other users also contribute to the server maintenance costs.


Easy to use, with no prior experience required.

Hosting a website when you have no previous experience can sound like a difficult task. Shared web hosting is created to simplify both the setup and management of your website data.

Once you purchase one of the basic web hosting packages from Zemi.mk, you get access to your “cPanel”, a web-based control panel considered one of the most intuitive and easy to use. Through it, you can manage almost every aspect of your online presence, from creating and checking your business email address to managing your .mk domain.

Creating a logo and branding for your new company or brand is by no means a minor step, nor should it be treated as one of those less important tasks for which you allocate no budget at all, or just enough to receive generic graphic solutions. Good branding today can be crucial to the success of your company. Smartly created branding will increase trust among your consumers and clients, increase their affinity toward your products and services, maintain motivation among your employees, and ultimately have a positive impact on the company’s profit.


Before you start creating a logo, have you checked whether the corresponding .mk domain is available? If you haven’t yet, click here and check for free.


However, if you are starting your business on a tight budget and have somehow justified the decision not to spend money on a unique logo and branding, then we would advise you to do it yourself, so you can protect yourself from unwanted comments and also spare local graphic designers, who “love” clients with tight budgets and zero respect for their craft.

There are many free logo makers, but only a small number of them support the Macedonian Cyrillic alphabet. For that reason, in this guide we will focus on the Logo Maker service by Adobe. The process of creating a logo with Adobe’s builder is quite simple and consists of only 3 steps.

To begin, click here and enter the details for your business.

  1. In field 1, enter the industry or category of your business in English. For the purposes of our example, in field 1 we will enter “makeup”.
  2. In field 2, enter the name of your business. Here you can also enter a Cyrillic string. We will enter “Мачка”.
  3. Field 3 is optional and refers to your business slogan. Here, we will enter “Macedonian organic cosmetics”. You should enter the slogan for your business, or leave this field empty if you do not want the slogan to be part of your logo.
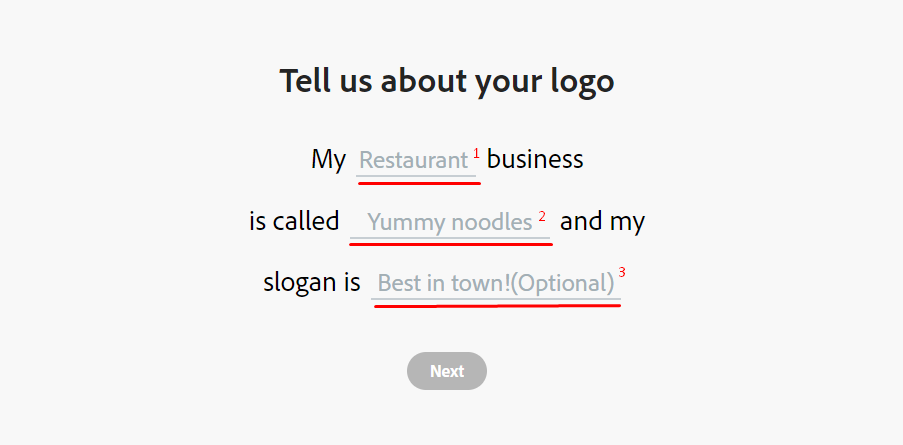
napravi-logo-adobe-1

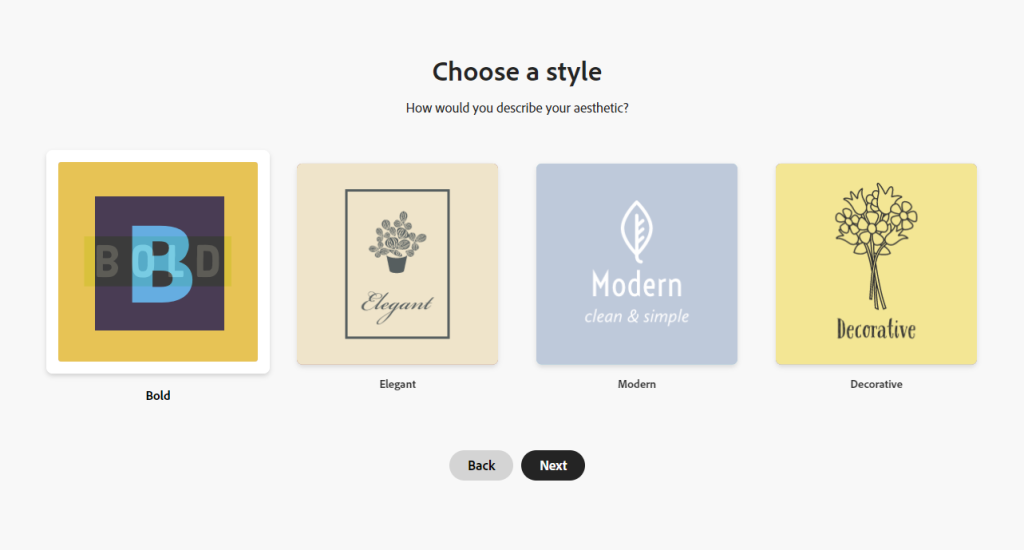
After filling in the fields, click “Next”. In the next step, choose a style for your logo.

  1. “Bold” — Bold logos include simplified fonts, strong contrasting colors such as black, blue, or red, square shapes, and avoid the use of italic fonts or decorative elements. Another way to design a bold logo is to give it a more rebellious and daring look.
  2. “Elegant” — In their essence, elegant logos are characterized by grace and a special appeal, which primarily comes from maturity and sophistication in the design, while still leaving a feeling of approachability. Unlike bold logos, elegant logos often include italic fonts and decorative elements.
  3. “Modern” — Modern logo design is a combination of classic and trendy elements, brought together to create a symbol or logo that looks fresh. Today’s modern design is represented by elegant lines, simple letters, colors, and highly defined elements.
  4. “Decorative” — Decorative logos are characterized by the use of handwritten fonts, as well as hand-drawn symbols.

Choose the logo style that best matches your vision. If you are not sure which one to choose, you can change the style later. We chose “Elegant”.
napravi-logo-adobe-stil-2

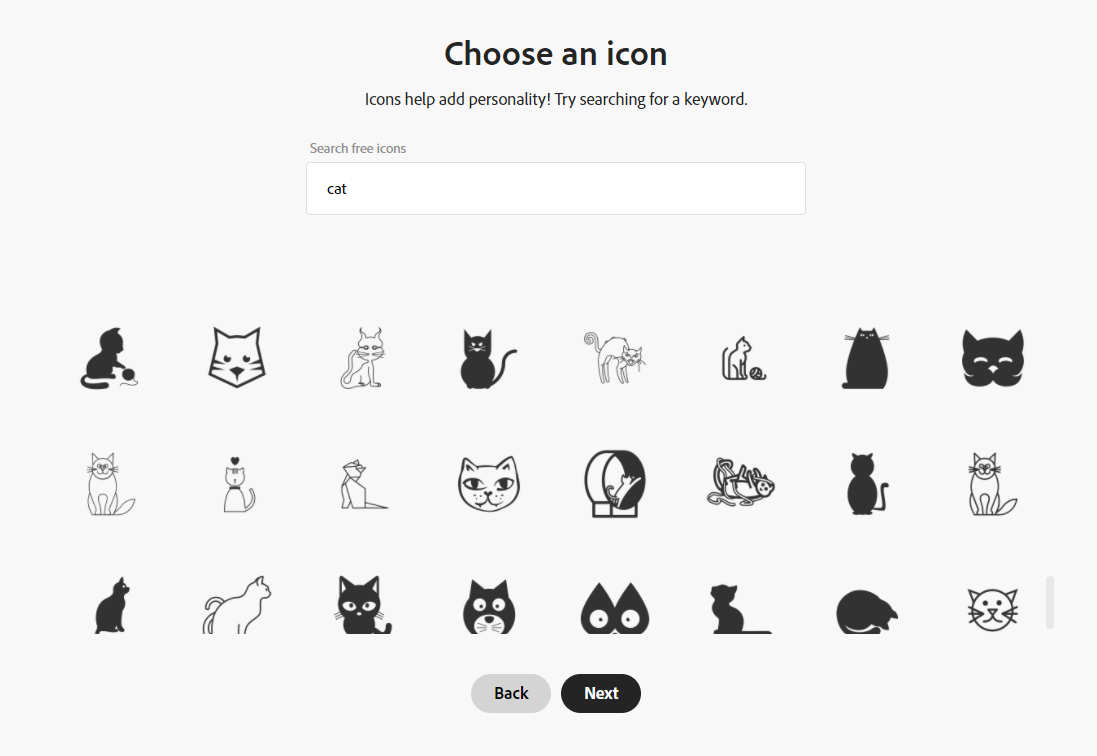
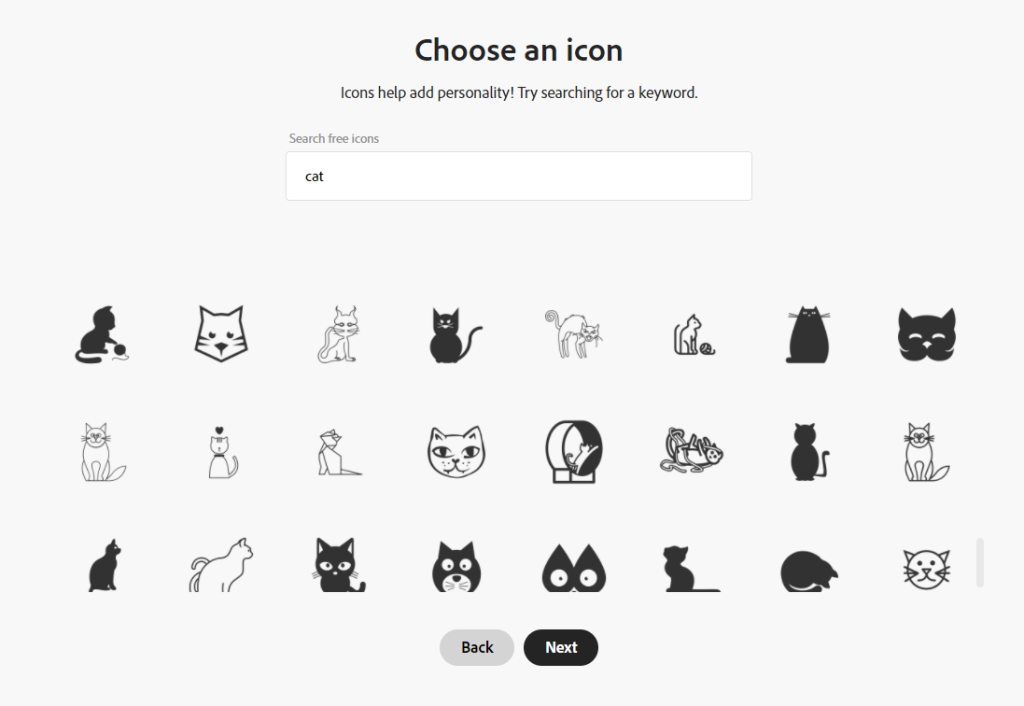
After choosing a style, you will be redirected to the page where you can choose an icon for your logo. Here, enter a term in English in the field so that filtered icons from the thousands available are listed for you. Since our brand is called “Мачка”, we entered “cat”. For example, if you are creating a logo for a pizzeria, enter “pizza”, “salami”, “cook”, “italy”, or another term that best fits the vision for your brand. This is the only step that allows you to be creative, so give it more attention. Choosing a suitable, distinctive, and easily recognizable icon can have a positive impact on the success of your business.
napravi-logo-adobe-ikona-3

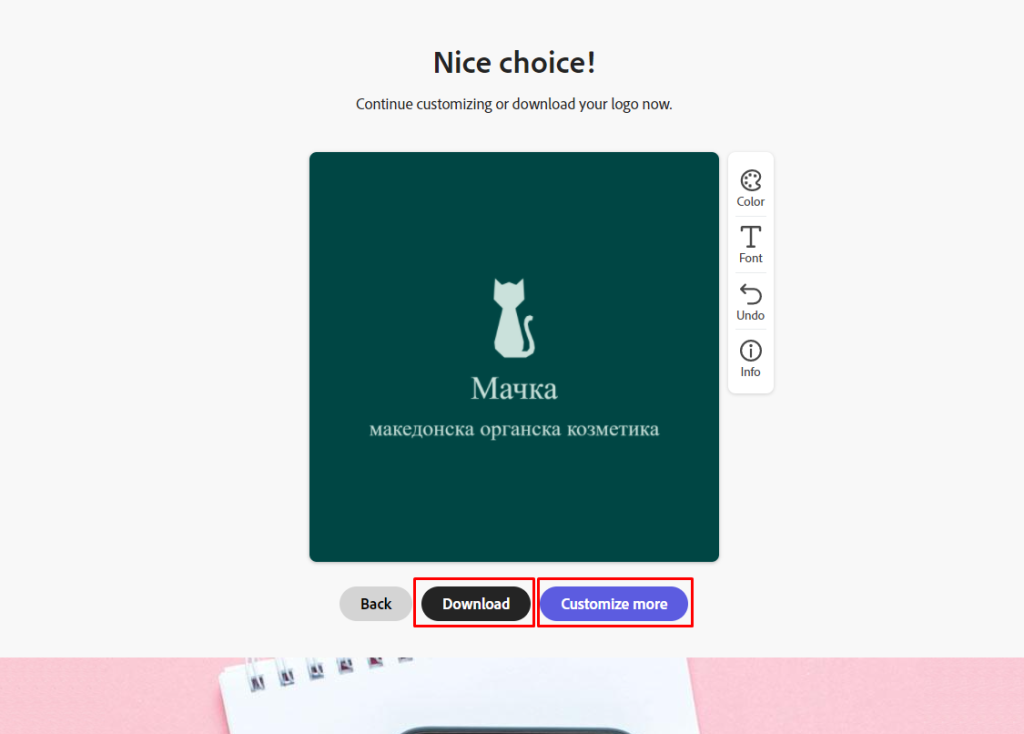
Once you choose an icon and click “Next”, you will be redirected to a page where multiple variations of your logo will be generated. If you like one of them and no changes are needed, click “Download”, after which you will be asked to register for free or log in if you are already registered.
napravi-logo-adobe-download-customize-more

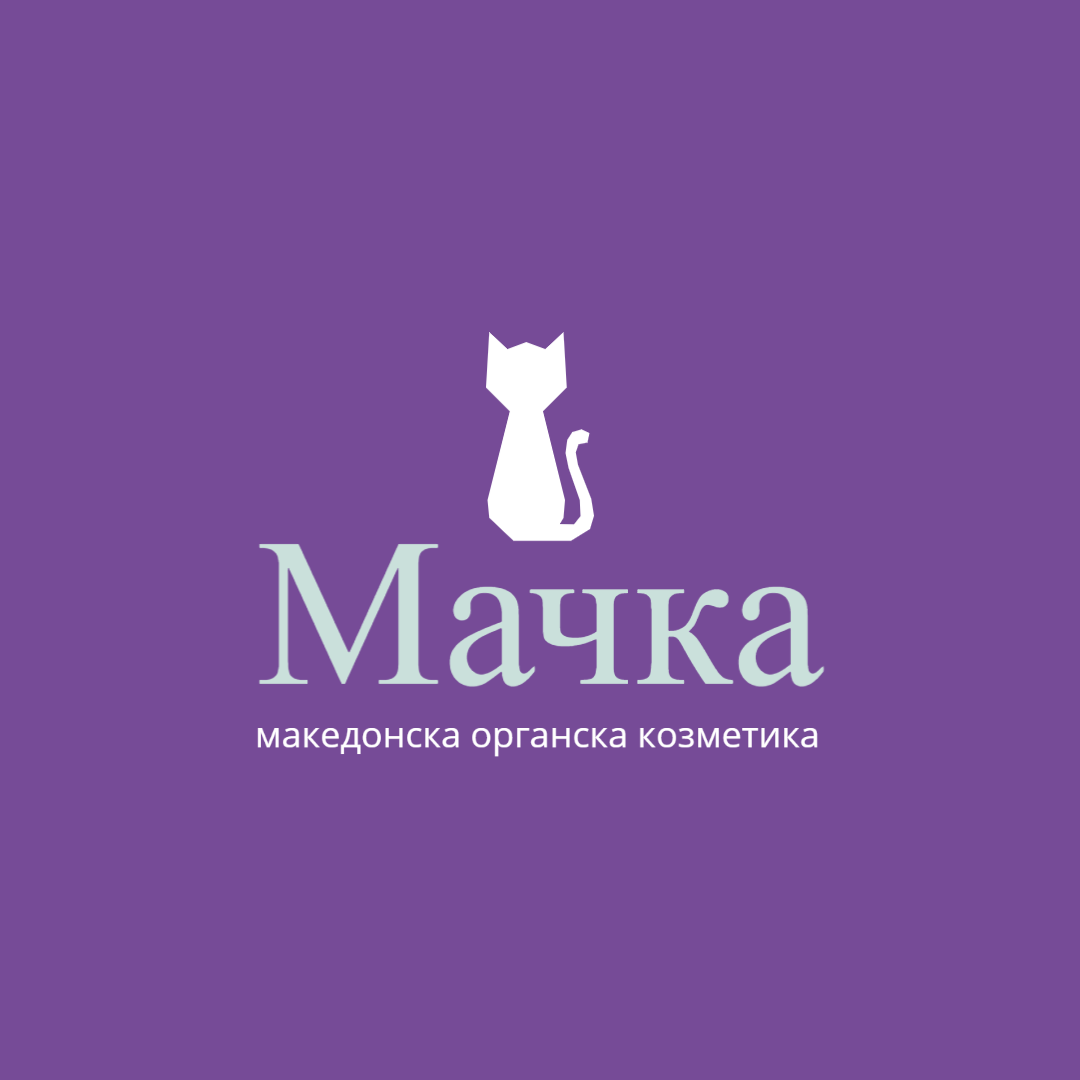
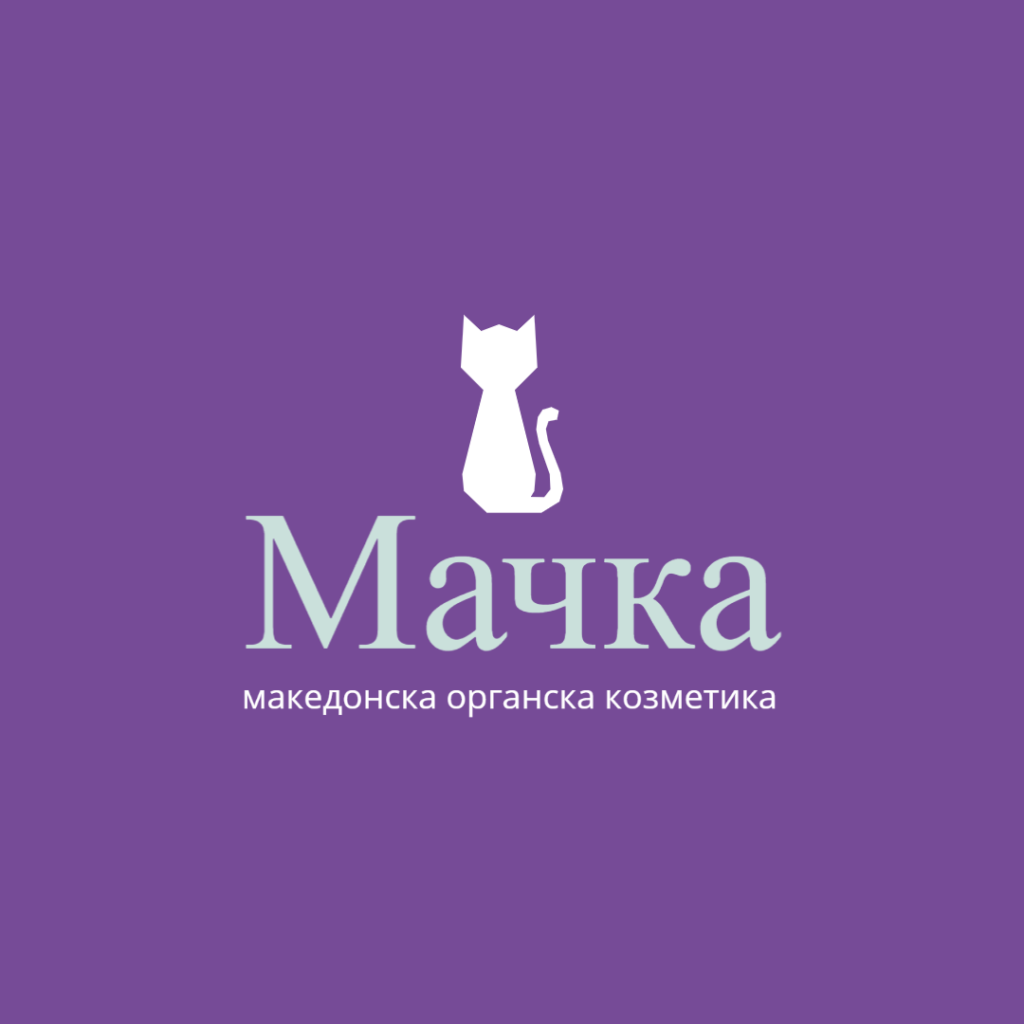
If you want to further refine the logo, click “Customize more”. After logging in, the editor will open, where you can make additional changes. Once you get the desired design, click “Download” in the upper right corner. Download the “PNG” version with a “Solid background”, as well as the “Transparent PNG”. Both will be useful to you in the future. We additionally edited ours until we were satisfied with the following design. The downloaded image can be used as a profile picture on social media.
machka

To create free graphics for your brand, go back to Adobe CC Express — click here. Log in if you have not already done so, and click the “+” icon in the upper left corner to start a new project. Choose Facebook or Instagram post, or another format that suits you, then select one of the free templates that will be listed. Free templates are the ones that do not have a small black icon with an orange crown in the bottom right corner. In the search field, we entered “makeup” so that templates matching our industry would be filtered.
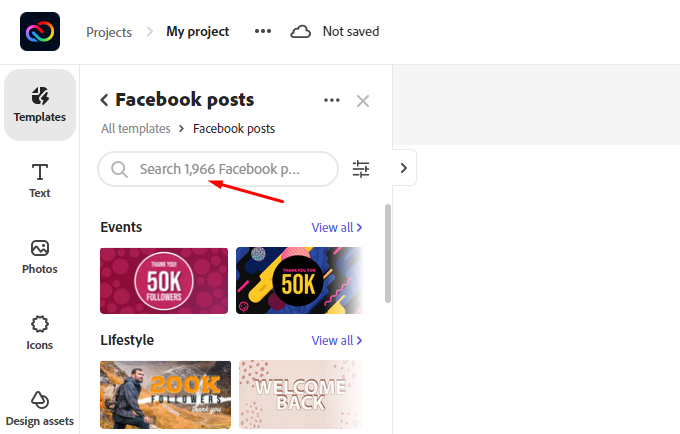
napravi-logo-adobe-stil-facebook-cover2


After choosing a template, remove or edit the text and images that come with it, upload the logo — the “Transparent PNG” version, or the version without a background — that we created earlier…
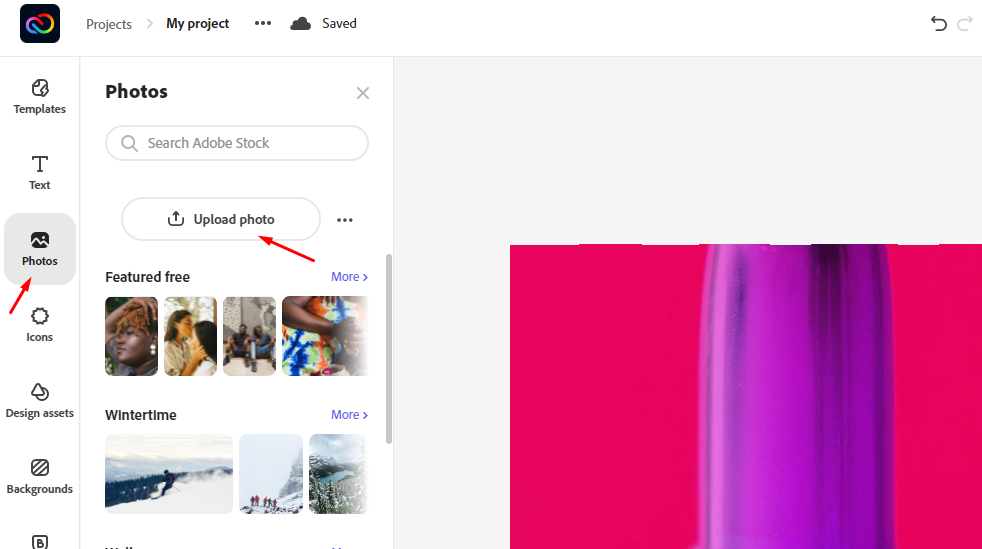
napravi-logo-adobe-stil-facebook-cover-3

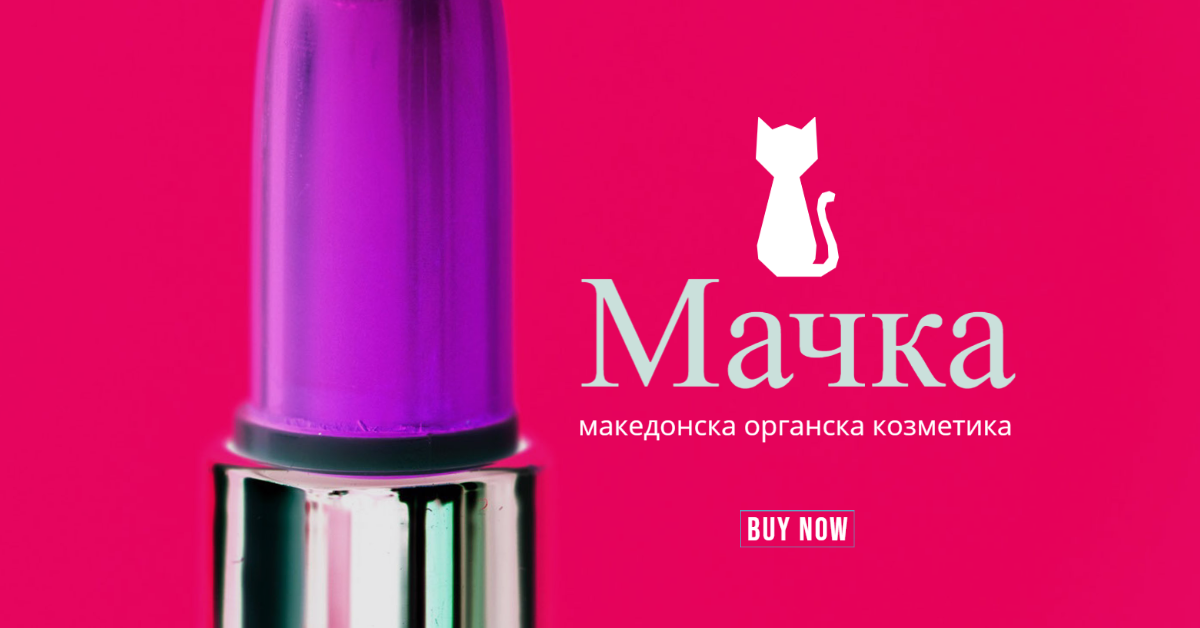
… and you can proceed to download the design by clicking “Download”, also in the upper right corner. This finished graphic can be uploaded to Facebook as a cover photo or as a post.
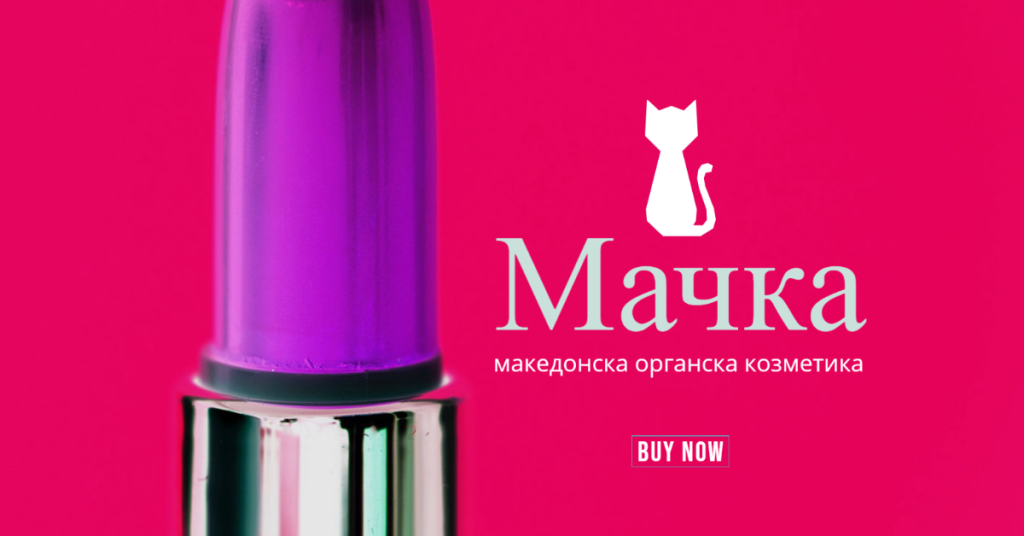
my-project


Source:

Now that you have already purchased a .mk domain and web hosting from Zemi.mk, and you have decided to use WordPress as the platform for creating your website — great choice — if you are not creating a design from scratch, it is time to choose the most suitable theme for your website. When creating this list, three criteria were taken into account: the theme should be free, regularly updated, and responsive, meaning adapted to work on any device — mobile, desktop, tablet, and more.

In the past, we have already written about how to install WordPress or a theme. To avoid repeating ourselves, if this is your first time using WordPress, click here. If you are not sure how to install a WordPress theme, click here.

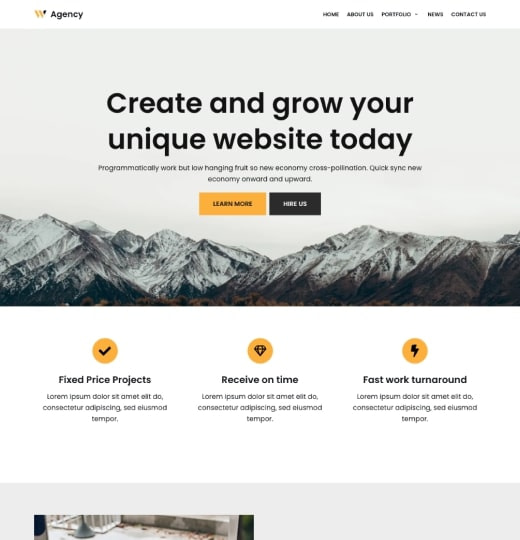
Astra

astra-zemimk-wordpress-theme

Astra, as the company itself boldly promotes it, is the most popular theme for WordPress, with more than 1.6 million websites running on it. Users love it because of its high level of customization, the excellent ready-made starter designs, which are available in a large number and can be installed with just a few clicks, and edited with the free Elementor drag-and-drop builder for WordPress themes. Another major advantage is the developers’ focus on optimizing Astra to work with popular add-ons and plugins within the WordPress ecosystem.


Neve

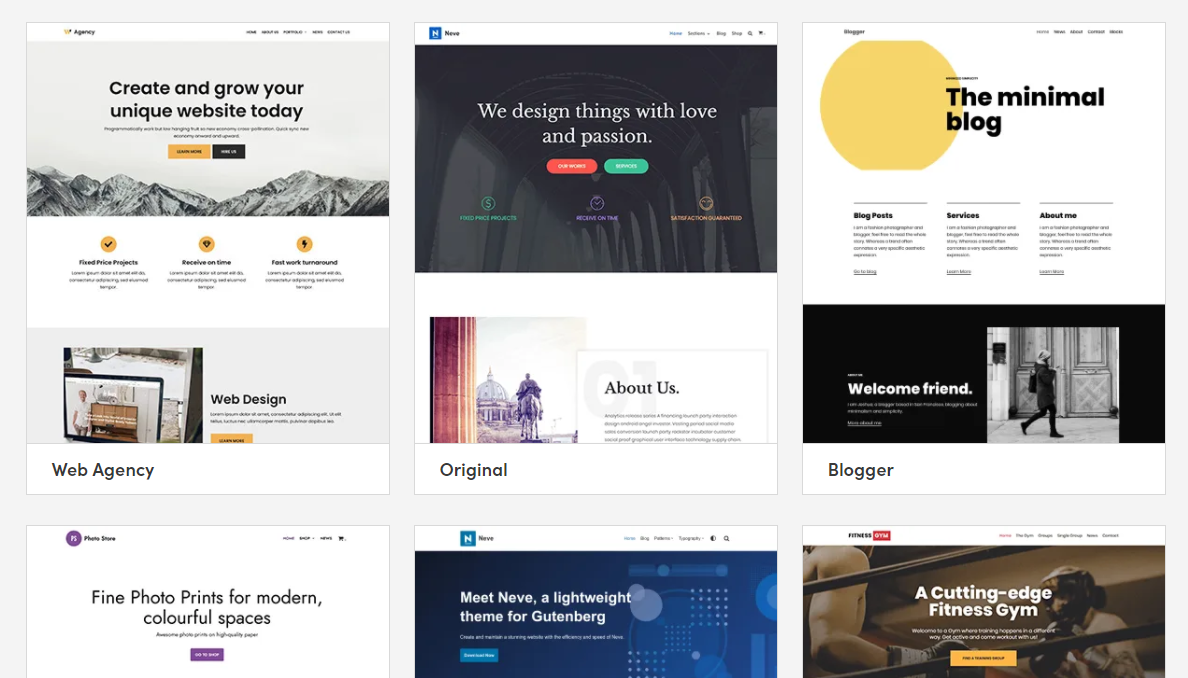
neve-zemimk-wordpress

Neve was created to give your website a fresh and attractive look. Developed according to modern WordPress standards, including compatibility with Gutenberg and Elementor, Neve is a suitable choice for every entrepreneur because of its multipurpose design. In addition, the theme comes with 30+ ready-made starter sites.


Airi

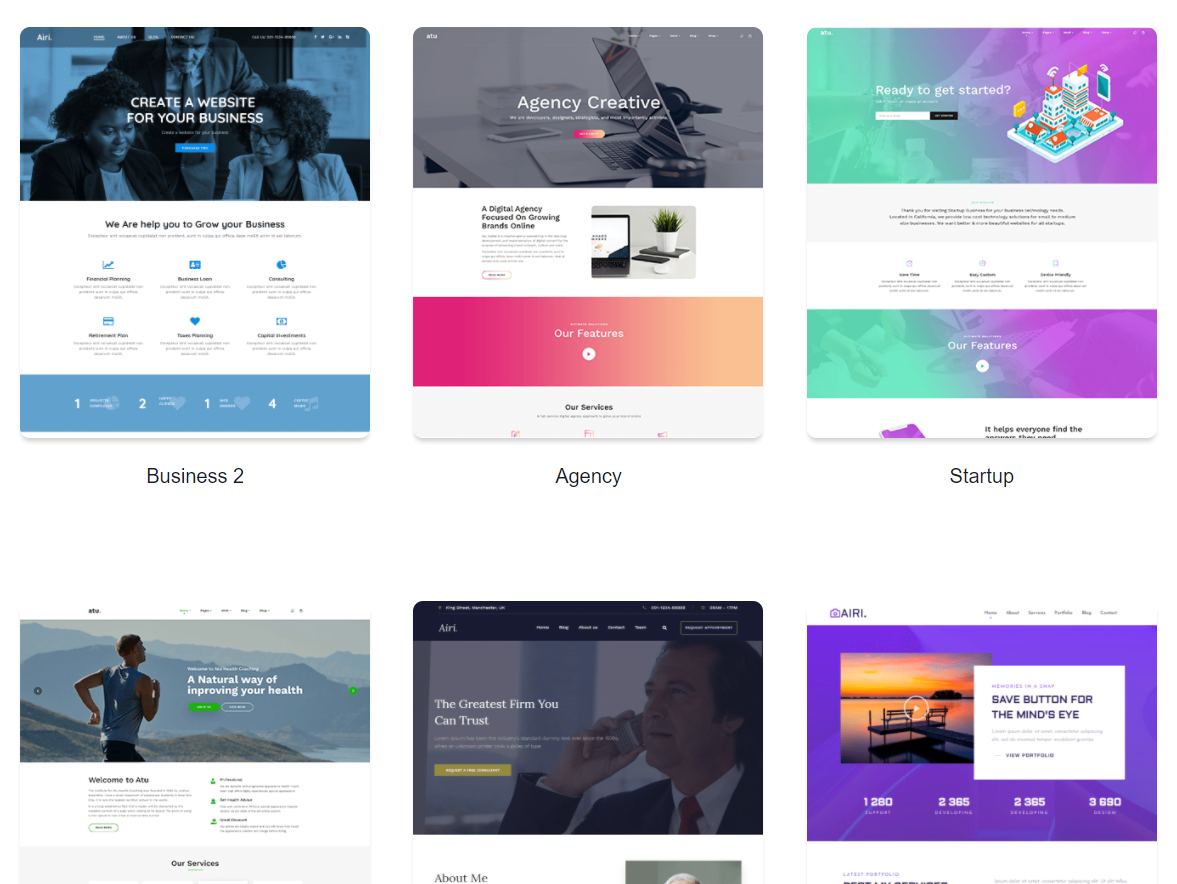
airi-zemimk-wordpress-theme

Airi is a powerful, flexible, and lightweight theme for your new corporate website. Featuring full Elementor integration, this multipurpose theme is an excellent choice for all types of companies or freelancer websites. With its modern look and many customization options, Airi is a great theme if you want to create a website from scratch or use one of the predefined website templates from its large collection, using Elementor. Even more, the theme offers support for WooCommerce, making it easier to create WordPress-based online stores.


OceanWP

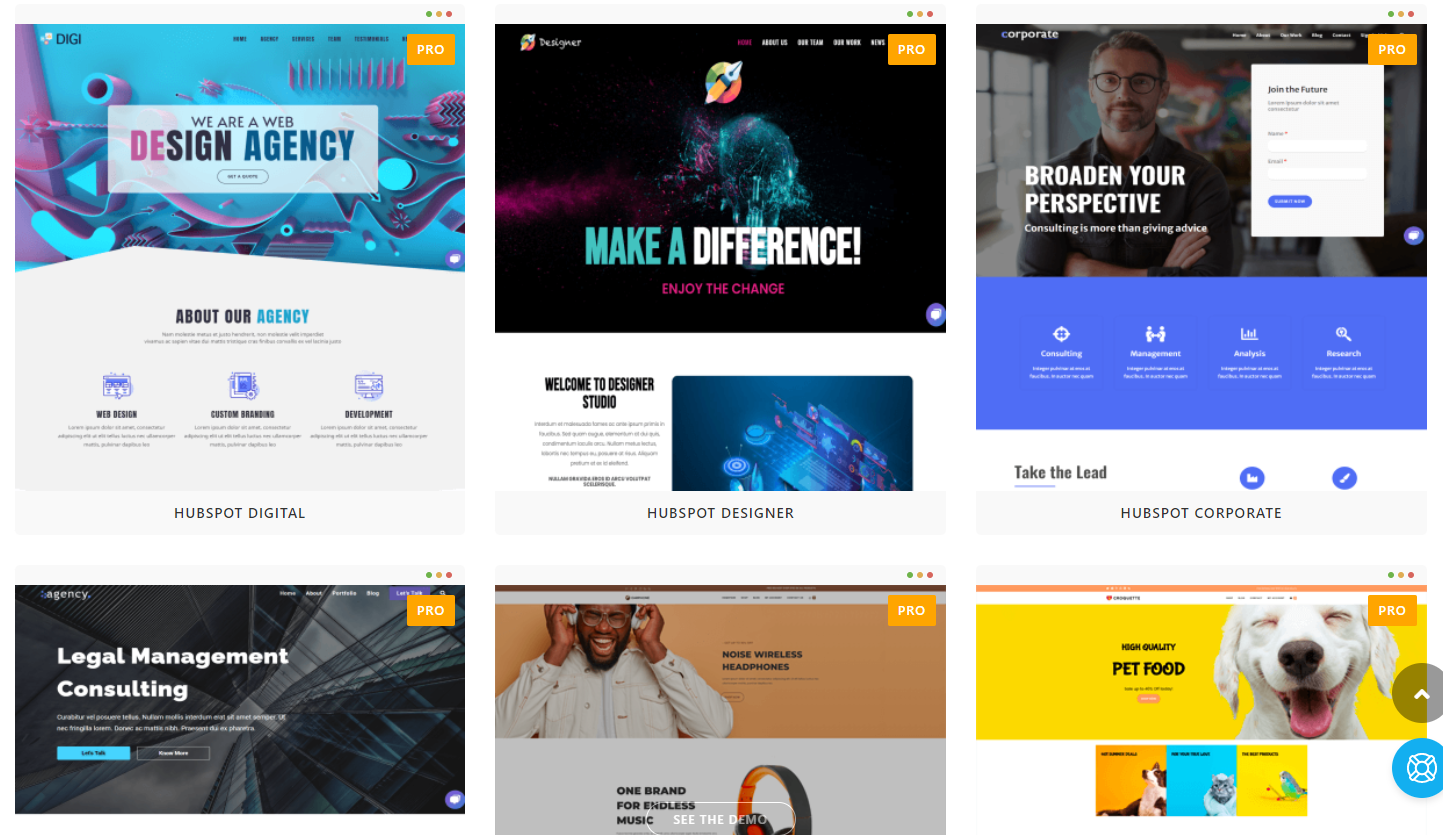
oceanwp-zemimk-wordpress-theme

A fully customizable theme, suitable for almost any purpose. You can use it for blogging, business, e-commerce, travel, or portfolio websites by choosing one of the starter demo themes. OceanWP has a modern design, with excellent animations and interactive sections. Every feature, including parallax effects, gives this theme an attractive appearance and secures its place among the best free WordPress themes.


Aronia

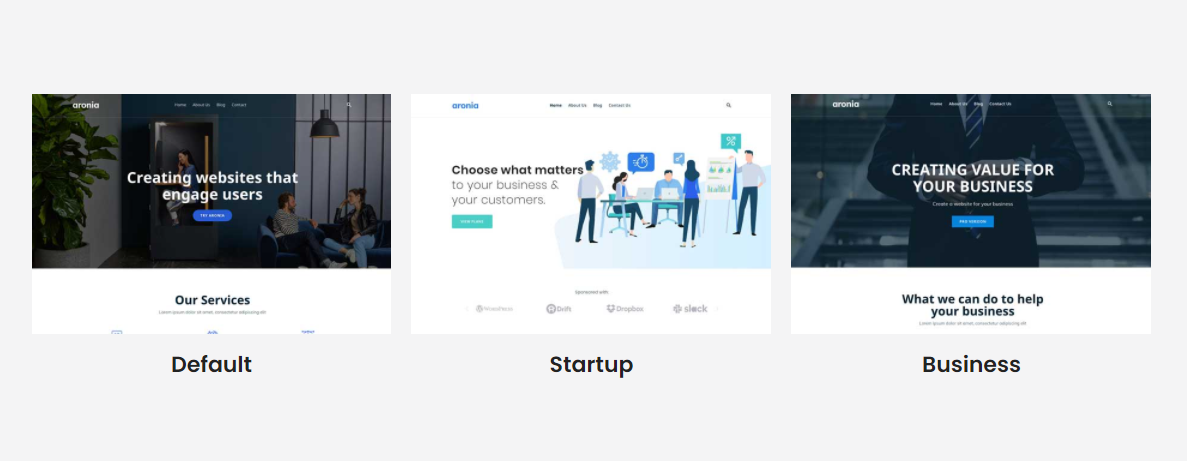
aronia-wordpress-theme-zemimk

Aronia is a free WordPress theme with a clean and modern design, suitable for creating portfolio websites as well as business websites. The theme consists of 3 demo themes that are ready to use and fully compatible with Elementor, the most popular WordPress theme builder. With Elementor, you can easily customize the appearance of your website.

Aronia is compatible with several useful plugins, easy to customize, and fully responsive.


Source:

At the time of writing this post, and most likely for the years to come, WordPress remains at the top of the list of the most widely used platforms for building websites. It has not earned the title “king” of the web space for nothing. The list of benefits that come with using this CMS — Content Management System — is long. Here are some of them.


  • WordPress is free

WordPress is free software. This means you can freely download it, install it, use it, and modify it to suit your needs. You can use it to create any type of website.

While the WordPress software itself is free, you need a domain and web hosting in order to install it. For this purpose, take a look at our basic hosting packages, which are optimized for WordPress.

A domain is the address of your website on the internet — what your users type into the address bar of their browser to access your website, for example, zemi.mk.

Web hosting, on the other hand, is server space available 24/7, where all the files and databases of your website are stored.


  • WordPress is easy to use

Although it is one of the most flexible and powerful platforms, WordPress is quite easy for beginners to use.

It comes with a simple dashboard with different options listed in the sidebar. You can easily create posts and pages, change the appearance of your website, add navigation menus, and much more.


  • WordPress can be fully adapted to your needs

Most WordPress users are neither web designers nor programmers. In fact, most people start using WordPress without any previous technical background.

WordPress is the perfect solution for beginners because it offers thousands of free themes — ready-made designs for your website — to choose from. There is a perfect WordPress theme for almost every type of website, whether it is a blog, corporate website, or online store.

WordPress themes are easy to customize because many of them come with their own options panel, allowing you to change colors, upload your logo, change the background, create beautiful sliders, and truly adapt the design to your needs without writing any code at all.


  • WordPress is safe to use

WordPress is seriously developed with the security of your website in mind.

However, there are many plugins that can further increase the security of websites built with WordPress, such as Wordfence, Sucuri, and others.

Behind WordPress stands a strong community of thousands of users, developers, and small businesses. As a community, they all ensure that WordPress is here to stay for the long term.

This tutorial will help you install and activate a WordPress theme. A theme can be installed in two ways: by choosing one from the theme catalog within WordPress, or by uploading a theme you have purchased from a third party. For paid premium themes, we recommend browsing ThemeForest or TemplateMonster.

First, we will explain the process of installing a theme from the WordPress theme catalog.

Step 1

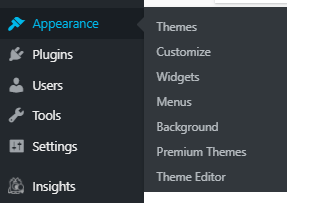
After successfully logging in to the WordPress admin area, from the menu on the left side, select Appearance -> Themes, or if your WordPress is in Macedonian, Изглед -> Теми.

wordpress-tema-chekor-1

Step 2

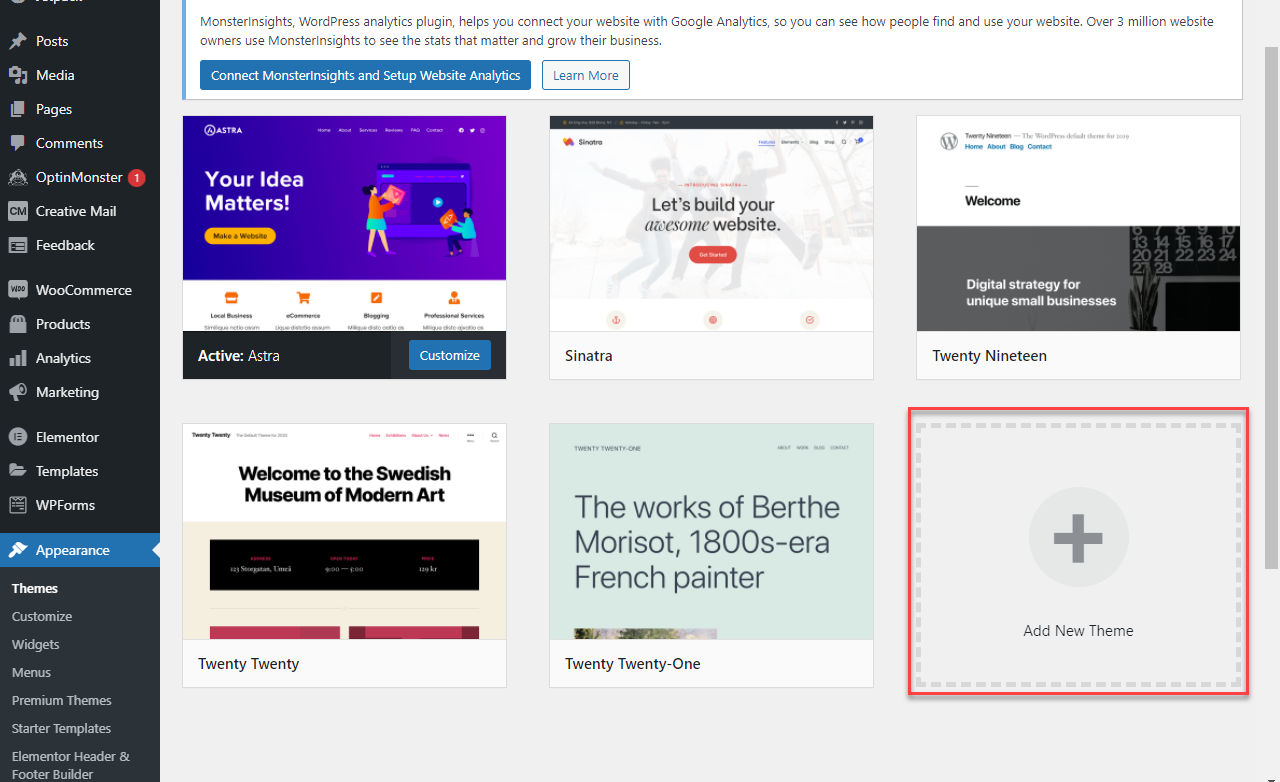
This will take you to the “Appearance” section of WordPress, where the themes currently installed on your WordPress website are listed. To add a new theme, select “Add New”. This button is usually at the bottom.

wordpress-tema-dodadi-tema-chekor-2


Step 3

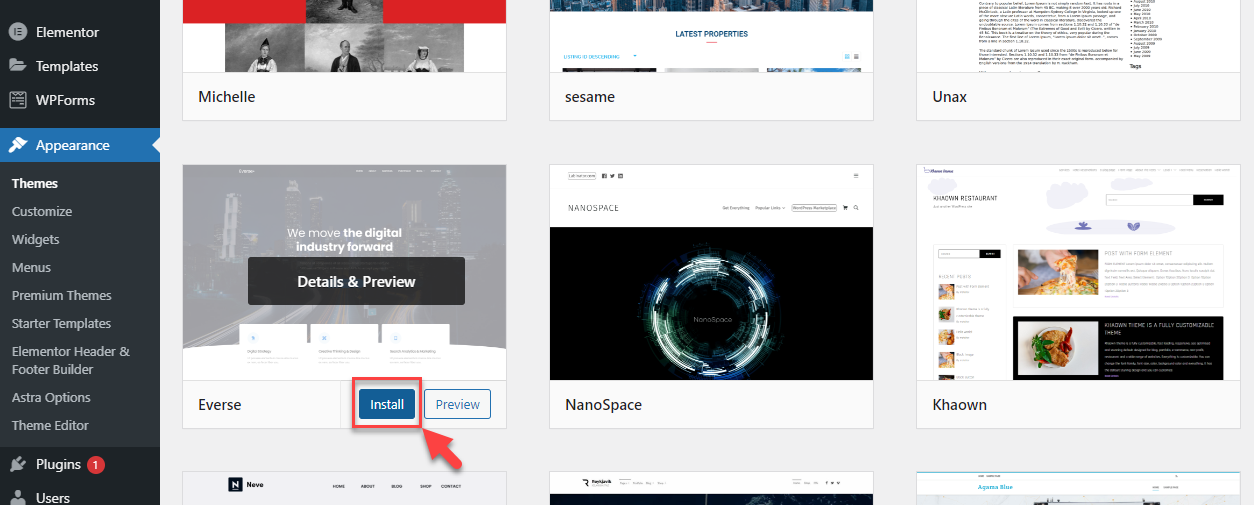
Here, you can search for a theme by using the advanced “Feature Filter”, then select “Apply Filters”. The themes will then be listed according to the characteristics you selected in the filter. Once you choose a theme you like, click “Install”.

wordpress-tema-dodadi-tema-chekor-4


Step 4

Theme installation may take some time, depending on the size of the theme. After the theme is installed, you need to activate it by clicking the “Activate” button.

wordpress-tema-dodadi-tema-chekor-5

The theme is now active and you can continue using it.


What should you do if you have already purchased a theme and want to upload and activate it on your WordPress website?

If you have already purchased a theme and have it on your local computer, you need to upload and activate it. The first two steps are the same as above, so we will not repeat them.

Step 3

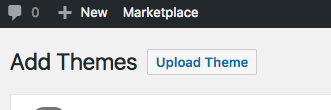
At this step, you need to upload the theme from your local computer. The theme must be in a compressed file format (.zip). To do this, click the “Upload Theme” button, select the .zip file of the theme, and upload it.

wordpress-upload-tema-dodadi-tema-chekor-1

During the theme upload process, make sure to keep your browser window open; otherwise, the upload may not complete successfully. Once the theme is fully uploaded, activate it in the same way as described in Step 4 above.

Note:

During the theme upload process, an error can often occur because the maximum upload limit has been exceeded (Upload Max Filesize). To increase the maximum allowed file upload limit, read the guide at the following link.


If you are wondering how to create a website yourself, but you have no technical knowledge, do not know any programming languages, and do not know how to design websites, we have good news for you. Watch our latest video tutorial on how to create a website by yourself, without a budget, using free tools and the tools available with the hosting packages from Zemi.mk.

In this tutorial, we used WordPress, the free drag-and-drop website builder Elementor, and the free WordPress theme Astra.

Creating a website with the trio of WordPress, Elementor, and Astra is truly simple and intuitive. All you need is a little imagination and willingness. Who knows, maybe the next Macedonian web designer of the year is hiding inside you. Make yourself a double espresso and let’s begin!


To create a website with Elementor, you first need to have WordPress installed on your domain. You can read how to install WordPress here.

WordPress is the most widely used CMS platform, allowing you to easily create and manage websites for free. Perhaps the biggest advantages of WordPress compared to competing platforms are its simple and intuitive user interface, which is also available in Macedonian, as well as the large number of free and premium templates/themes and add-ons/plugins. With these, you can personalize your website down to the smallest detail so that it meets all your requirements, both aesthetically and functionally.

Zemi.mk offers one-click WordPress installation through the Softaculous auto-installer. Softaculous is available as a tool in cPanel and, in addition to WordPress, offers installation of many free and premium scripts and web applications. Automatic WordPress installation is available on the basic hosting packages from Zemi.mk, which also use LiteSpeed Web Server, created for maximum optimization of dynamic websites such as those built with WordPress.

To install WordPress, first log in to cPanel using the hosting management details sent to your email after the service has been paid for and activated. The cPanel login link is usually ime-na-vashiot-domen.mk/cpanel.

After logging in, click the WordPress icon shown in the image below.

softaculous-instalacija-na-wordpress-cpanel

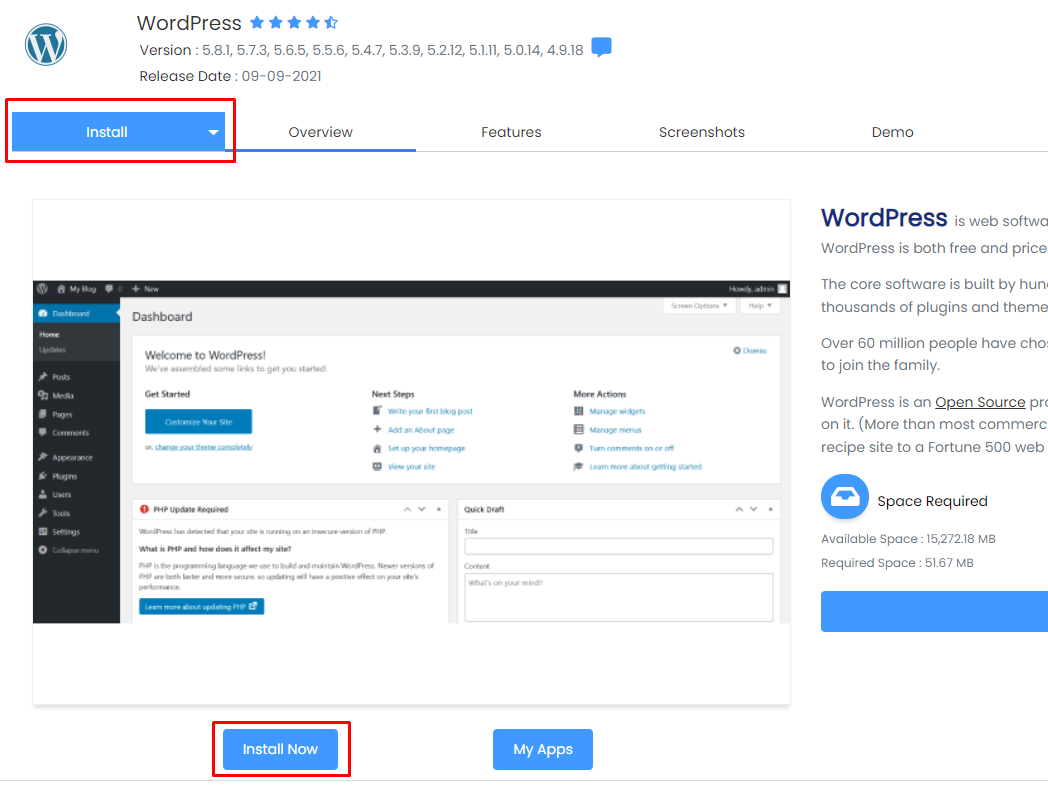
From here, you will be redirected to the WordPress installation page, where you need to click the “Install” or “Install Now” button.

instalacija-na-wordpress

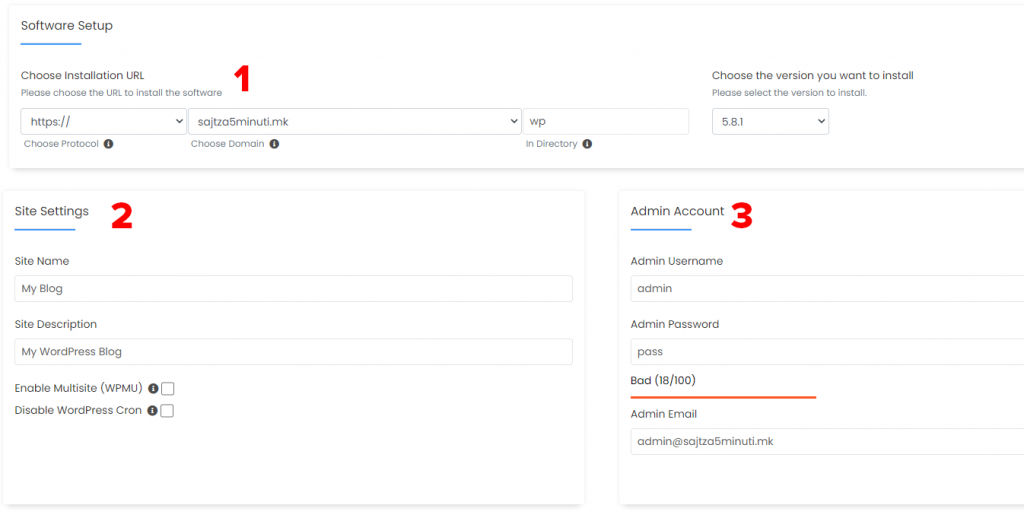
You will then see the page with the settings for your WordPress installation.

  • Software Setup (1 in the image)
    • Here, you need to set the URL for your website or WordPress installation. By default, Softaculous installs WordPress in the /wp folder as a precaution to avoid overwriting an existing WordPress installation on the main domain. If you are installing WordPress on your domain for the first time, you most likely want to install it in the root folder of the domain, so visitors can access it by entering only your domain, without the /wp extension. If you leave the “In Directory” field filled in with wp, your WordPress website will be available at ime-na-vashiot-domen.mk/wp, but not at ime-na-vashiot-domen.mk. To install WordPress on the main domain, delete wp from the “In Directory” field and leave it empty.
    • The version selection field is always set to the latest version available through Softaculous, which is the recommended version for installation. This field should usually remain unchanged.
  • Site settings (2 in the image)
    • Site name — enter the name of your website here.
    • Site description — enter the description of your website here. The name and description can easily be changed after installation through the WordPress admin panel.
    • Enable Multisite — whether to enable multiple WordPress websites managed through a single admin panel. This usually remains unchanged and disabled.
    • Disable WordPress cron — whether to disable the WordPress Cron system. This is also recommended to remain unchanged and disabled.
  • Admin Account (3 in the image) — these are the details you will use to log in to the admin panel in the future, so you can manage your WordPress website. These details are important and should be remembered or written down.
    • Admin Username — for better security, it is recommended to change this field and replace “admin” with another username of your choice. Only Latin characters are allowed.
    • Admin Password — this is the password for the administrator account and should be complex enough to provide a higher level of security.
    • Admin Email — the administrator’s email address.

setiranje-na-wordpress-instalacija

  • Choose Language (4 in the image) — language selection. Macedonian is not listed here, but it is available for selection later through the admin panel.
  • Select Plugin(s) (5 in the image) — selection of plugins that will be initially installed on your WordPress website. It is recommended to select Limit Login Attempts (Loginizer), which provides protection against brute-force hacking attacks.

setiranje-na-wordpress-instalacija-2

  • Advanced options — leave this section unchanged unless you are an experienced user.
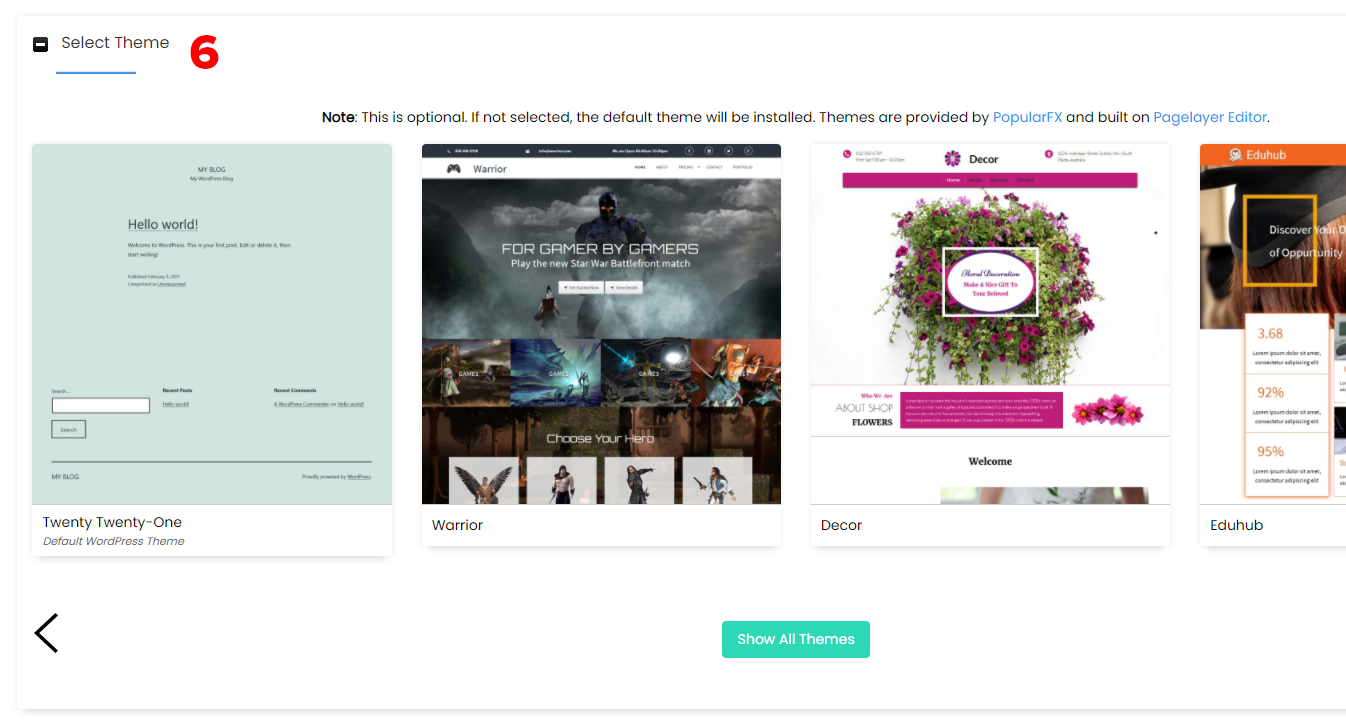
  • Select Theme (6 in the image) — here you can choose a theme/design for your WordPress website from the options offered by Softaculous. You can also leave it unchanged if you have already chosen another theme or want to use the default WordPress theme. In the future, you can install and manage themes through the admin panel.
  • Click “Install”

setiranje-na-wordpress-instalacija-3

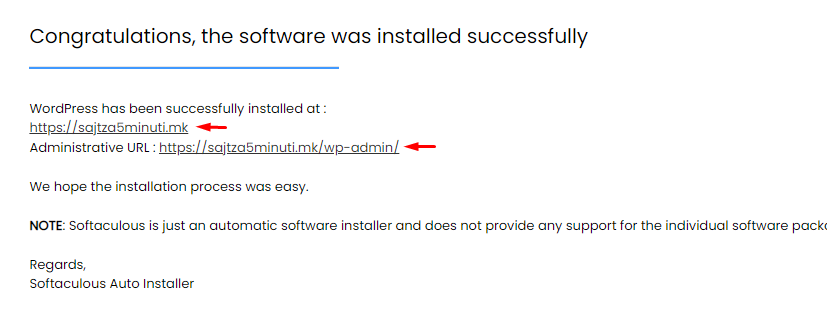
After WordPress has been successfully installed, a page will open showing the two most important links for a WordPress website: the website link and the admin panel login link.

linkovi-za-wordpress-instalacija

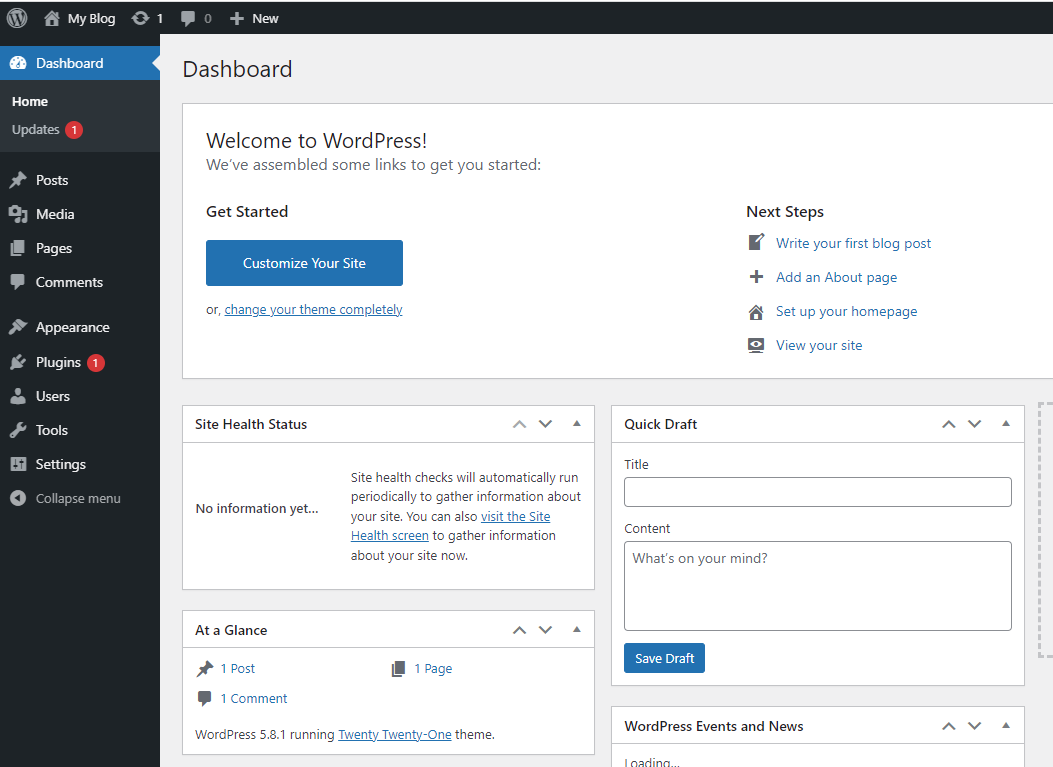
If you click the admin panel login link or “Administrative URL”, you will be redirected to it without needing to log in with the admin panel details you entered earlier. This only happens this time. In the future, when accessing the admin panel link, you will need to enter your username and password.

wordpress-dashboard

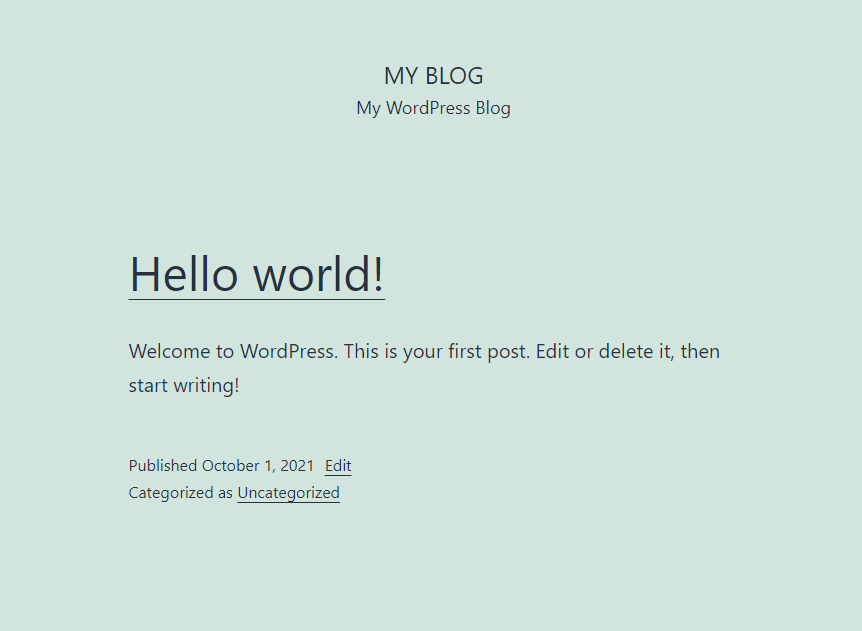
By clicking the main website link, you will be redirected to the homepage of your WordPress website.

wordpress-homepage

You can view the basic hosting packages from Zemi.mk at the following link.